
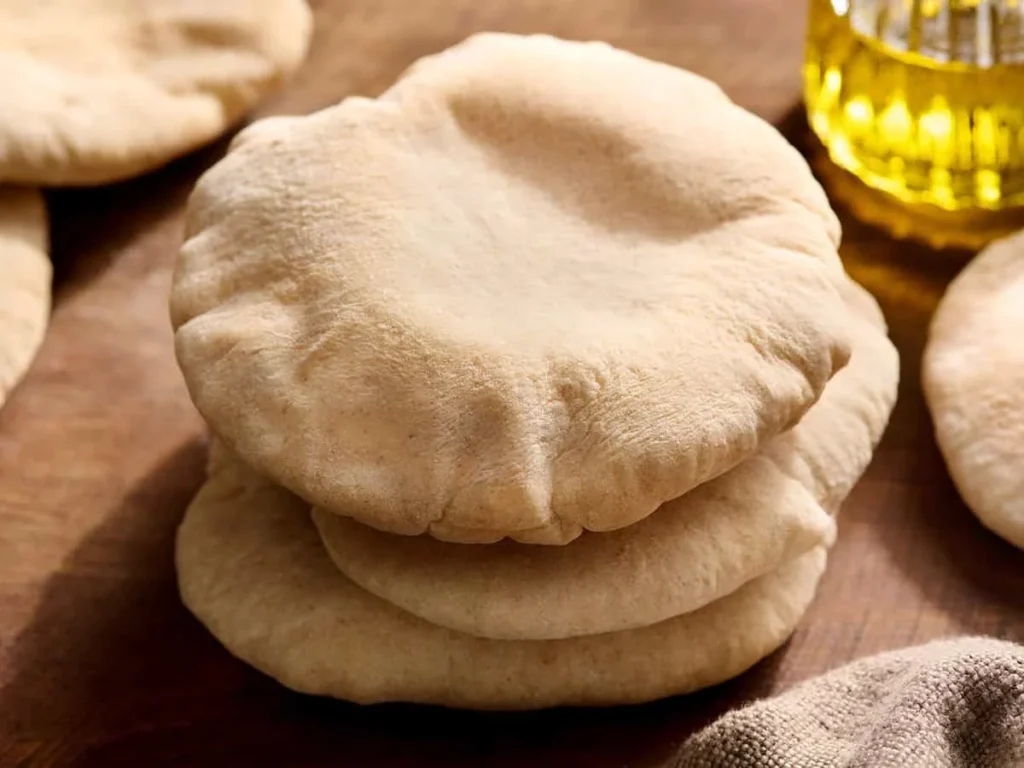
The first three batches of pita I made never puffed. They came out flat, dense, and about as exciting as day-old store bread, and I genuinely considered buying the packaged kind forever.
Then one Sunday I finally let the oven get properly hot before sliding the rounds in. Every single pita ballooned into a pillow, and my husband and I stood at the counter watching them go. That’s the whole secret. Hot oven, thin dough, and a little patience with the rise.
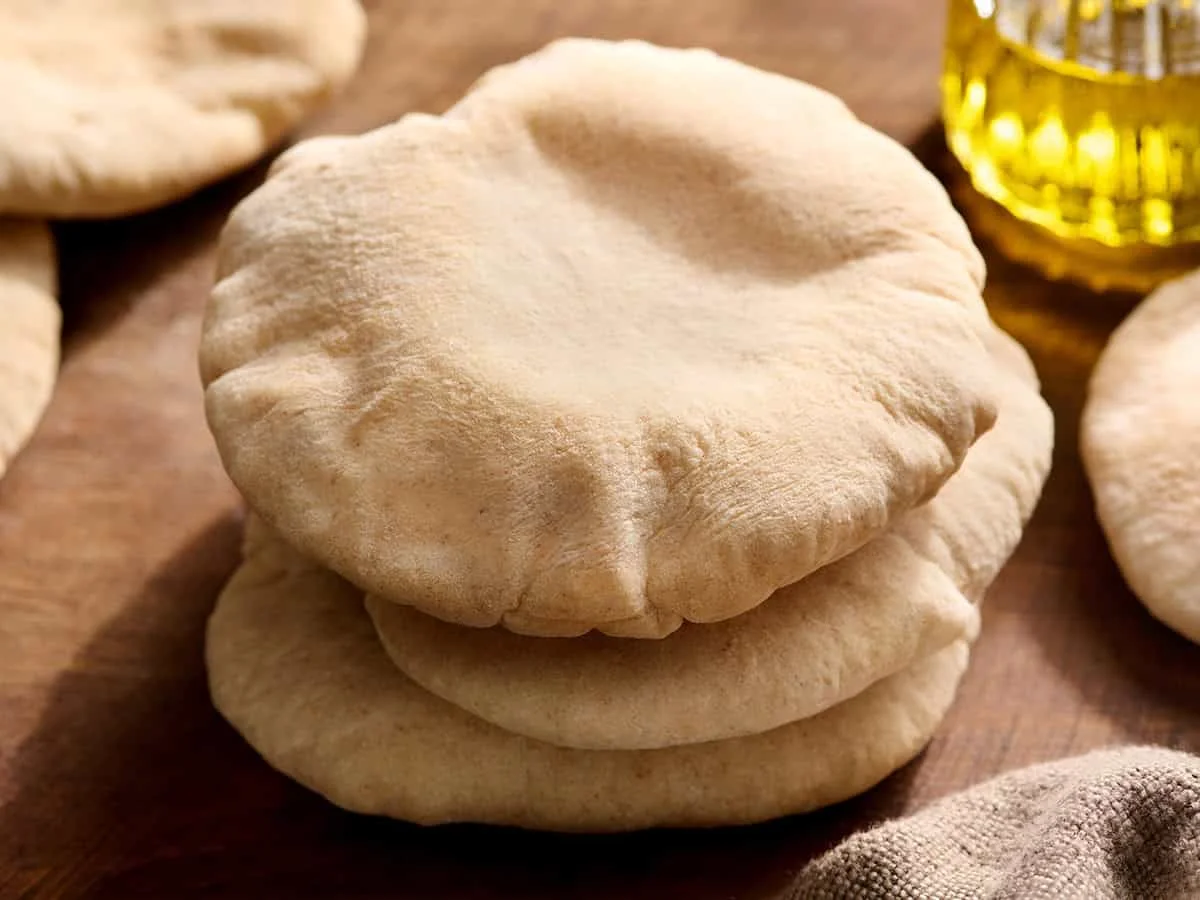
Pita is a round, leavened flatbread from the Middle East and Mediterranean, and it’s one of the most forgiving breads you can bake at home. You don’t need a stand mixer, a pizza stone, or any special bread equipment. The dough comes together from seven basic pantry ingredients, it needs a hands-off rise while you do the rest of your evening, and the best part is watching each pita puff into two soft, separate layers.
Here’s the honest timing before we get into it:
- Real time: 1 hour 35 minutes (most of it hands-off rising)
- Hands-on: about 20 minutes
- Yield: 8 small thin pitas, or 6 larger ones with bigger pockets
Why this pita works
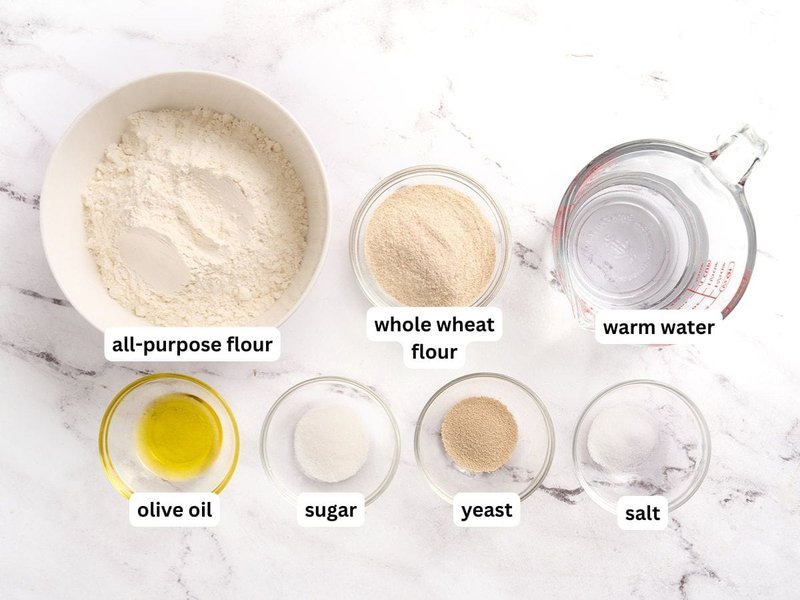
The dough uses warm water, yeast, sugar, olive oil, a little whole wheat flour, all-purpose flour, and salt. The whole wheat gives it a slightly nuttier flavor and a bit more color, but if you only have all-purpose, that’s totally fine — just use the full amount of that instead.
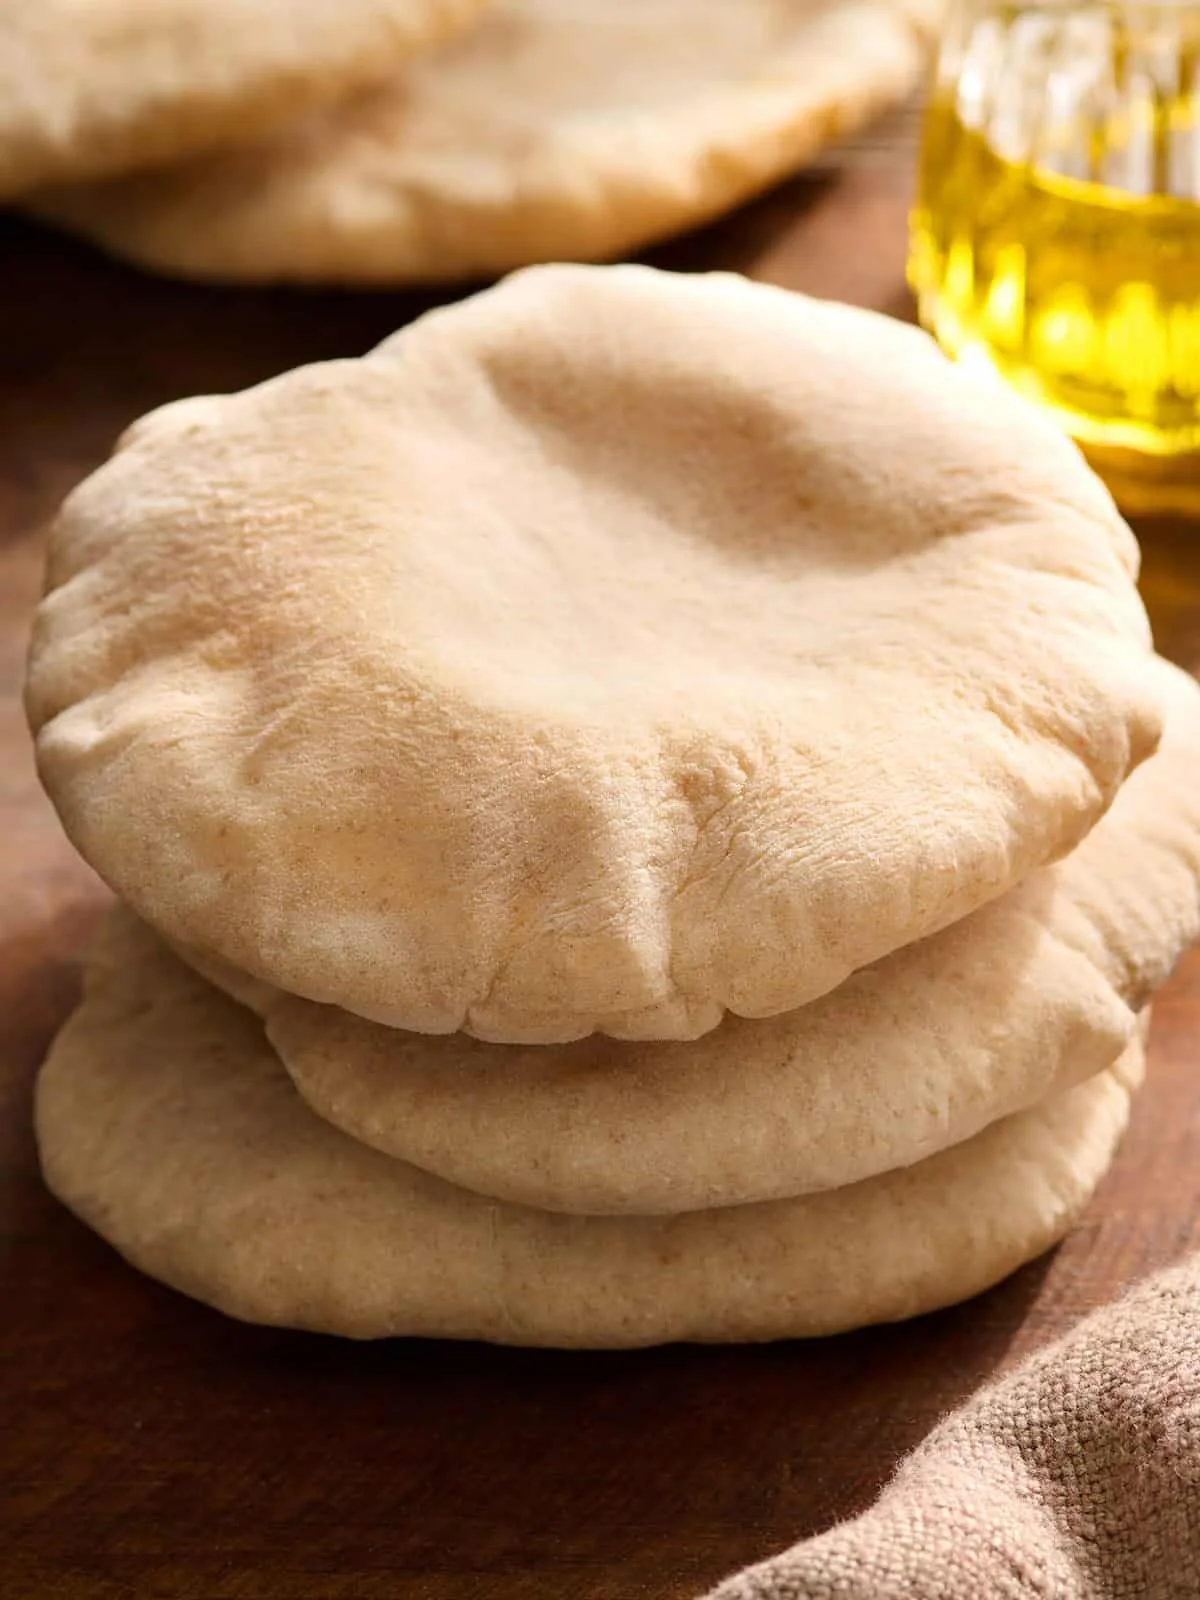
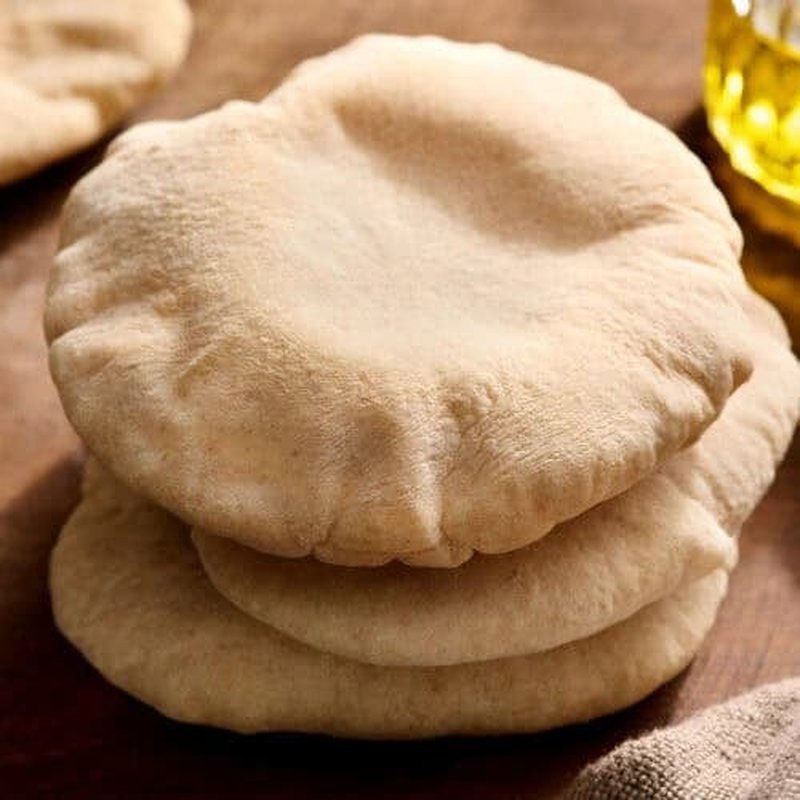
What makes the pockets is heat. In a super-hot 500°F (260°C) oven, the moisture in the dough turns to steam almost instantly, and each evenly rolled round puffs up and separates into two tender layers. I pull them out once they’re fully inflated but still pale, so they stay soft and lightly chewy instead of drying out crisp.
Ingredients
Everything is pantry stuff. The whole batch costs about $0.94, or roughly $0.12 a serving. You can use instant or active dry yeast here without changing anything.
- 1⅛ cups warm water (about 270 ml)
- 1½ teaspoons instant yeast (5 g)
- 1½ teaspoons granulated sugar (6 g)
- 1 tablespoon olive oil (15 ml)
- ½ cup whole wheat flour (60 g) — or more all-purpose
- 2½ cups all-purpose flour (300 g) — you may use a little more or less
- 1 teaspoon salt (5 g)
How to make it
1. Wake up the yeast. In a small bowl, stir together the warm water, sugar, and yeast. Let it sit for about 5 minutes until it gets foamy on top, then stir in the olive oil.
2. Start the dough. In a large bowl, combine the whole wheat flour, ½ cup of the all-purpose flour, and the salt. Pour in the yeast mixture and stir to combine.
3. Knead it in. Gradually add the remaining all-purpose flour until the dough forms a loose ball that won’t stir with a spoon anymore. Turn it out onto a lightly floured surface and knead for at least 3 minutes, adding flour only as needed. The finished dough should be soft, smooth, and pliable — not dry or stiff. You’ll end up using around 3 cups of flour total, but humidity and how you scoop your flour change that, so trust what the dough feels like more than the measuring cup.
4. Let it rise. Set the dough ball in a lightly oiled bowl, cover it loosely, and leave it somewhere warm and draft-free for about 1 hour, or until doubled in size. Chilly kitchen? Park the covered bowl in the oven with the light on and the oven off.
5. Divide and roll. Punch the risen dough down and turn it out onto a floured surface. Shape it into a log, then cut it into 8 equal pieces (or 6 for bigger pockets). Roll each piece into a smooth ball, then into a flat, even 6-inch circle. This step is the make-or-break one: pita that’s too thick won’t puff, and uneven spots keep the pocket from forming. Roll thin and even from the center to the edges, and keep the surface smooth so the steam stays trapped inside.
6. Bake. Preheat the oven to 500°F (260°C) and let the oven come fully up while the rolled rounds rest under a damp cloth so the edges don’t dry out. Slide a couple of rounds onto an oven-safe wire rack at a time and bake until each one has fully inflated but is still pale. If you bake them until golden, they turn crispier and drier — great for chips, not for fresh pita.
7. Steam them soft. As they come out, stack them on a plate and cover with a damp cloth. The trapped steam keeps them tender and chewy as they cool.
The rules that keep them from flopping
- Don’t rush the rise. One rise, about an hour, until doubled. That’s where the airiness and the stretch for the pockets come from.
- Roll thin and even. 6-inch circles, no thick spots. This is the number one reason pitas fail to puff.
- Let the oven get really hot. The immediate blast of heat is what sets the outside while the inside steams and puffs. No shortcuts here.
- Keep the rounds covered. A damp cloth during the preheat rest keeps surfaces from cracking.
How I actually eat it
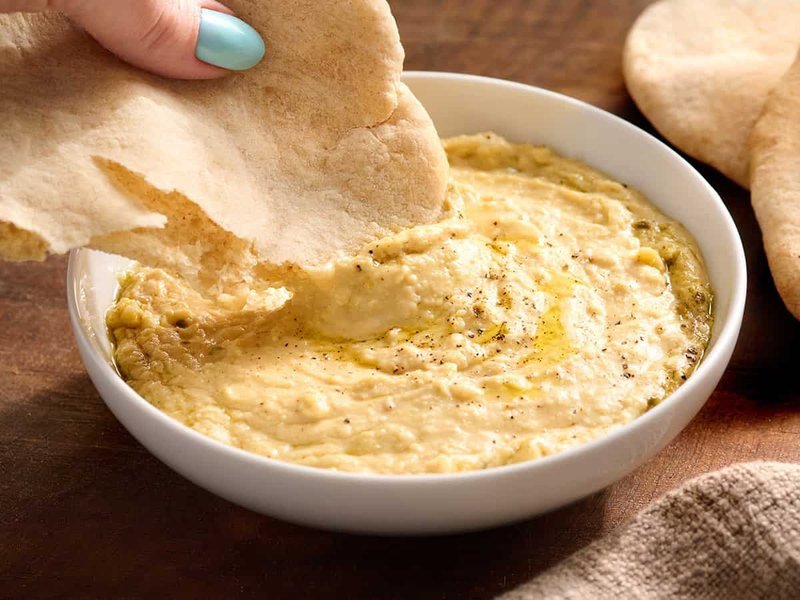
Torn into wedges and dipped straight into homemade hummus is my go-to. Add olives and some fresh vegetables and you’ve got a proper mezze-style spread for a weekend night — the kind of thing you can throw together with whatever’s on hand.
For something with a crunch, brush the pitas with olive oil and bake them into chips. I’ve tossed them with cinnamon sugar for a sweet snack and they’re dangerously good.
And of course, the pockets exist to be stuffed. Each pita is a perfectly portioned sandwich — slice it in half, gently pry the pocket open, fill it, done. Right now my favorite is leftover chicken shawarma with some salad and a spoonful of tzatziki. The filling options are basically endless:
- Quinoa tabbouleh with leftover grilled chicken — filling, protein-packed, and fresh
- Homemade falafel with lettuce, tomato, cucumber, and tahini for a plant-based pocket
- Deli ham and cheese, toasted until the cheese goes gooey
- Traditional chicken salad with crisp lettuce or sliced cucumber
- A pizza pocket: pepperoni, pizza sauce, mozzarella, and whatever toppings you have on hand
- Scrambled eggs, cheese, and leftover roasted vegetables for breakfast
- Curry chickpea salad with spinach or crunchy cucumber for a creamy meatless fill
They’re great for meal prep too — bake a batch, and your weeknight lunches take ten flat.
Storage and reheating
- Counter: once completely cool, keep them in an airtight container or zip-top bag for up to 2 days. Seal it well so they stay soft.
- Fridge: up to 4 days, same airtight storage.
- Freezer: lay parchment paper between each pita, bag them, and freeze for up to 3 months. Thaw at room temperature, then reheat.
- Reheating: a brief warm in the microwave, oven, or a dry skillet until soft and warm through. Best at room temperature or warm, never cold.
Make it yours
Divide into 6 pieces instead of 8 and you get bigger, slightly thicker pockets for really loaded sandwiches. Skip the whole wheat for an all-white version, bake a few extra long until golden for pita crisps, or keep a batch frozen for the nights you want fresh bread without the hour and a half. Happy cooking, Maya.