
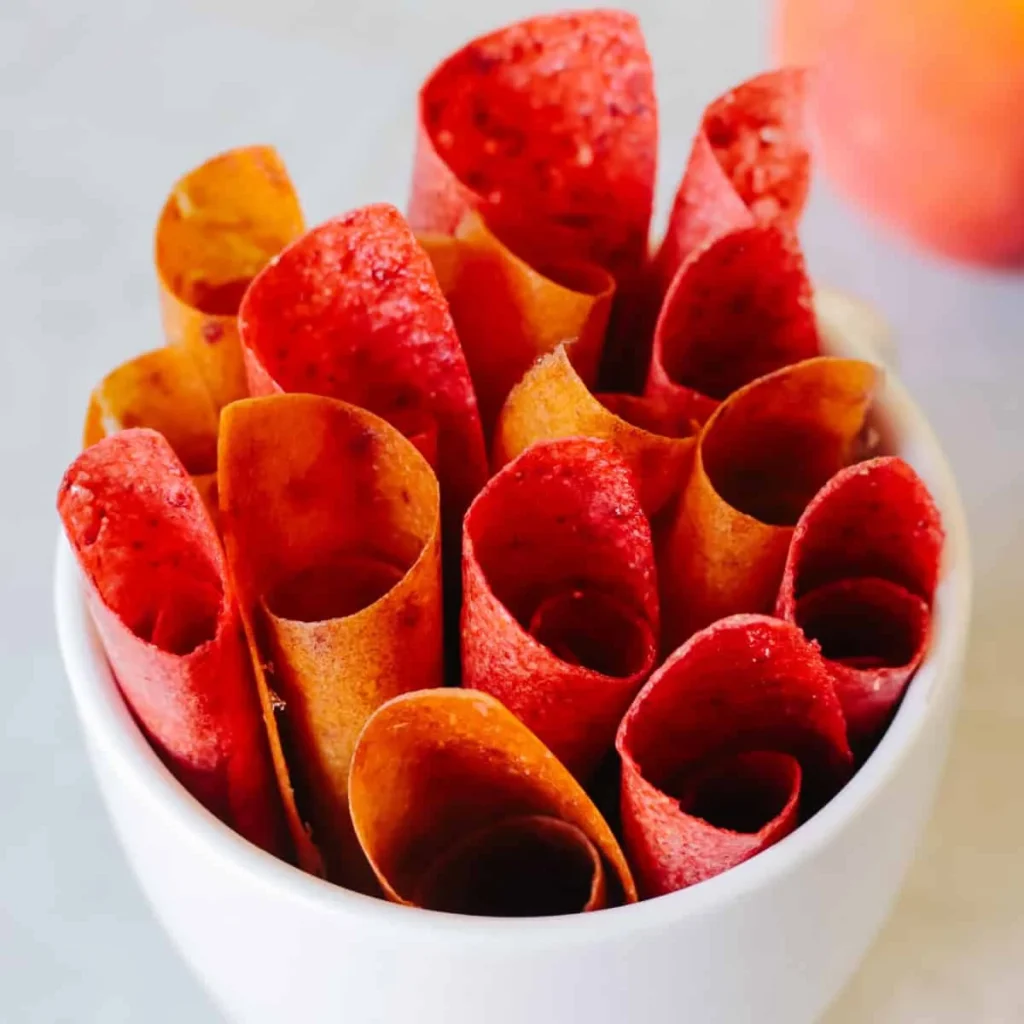
My blender was still warm from smoothie duty when the last of the strawberries started getting soft. Three pints, a dehydrator, and a cup of unsweetened applesauce later, I had the most honest, jammy, chewy snack I’ve ever made at home: fruit leather. No refined sugar, no long ingredient list, no babysitting. You spread the puree, you set a timer on your life, and you come back to something that peels right off the tray.
Real time: about 8 hours to 10 hours total. Hands-on: about 10 minutes, and most of that is waiting for the blender. It’s the kind of thing you start after dinner and forget about, which is exactly the kind of thing I like to make.
Why I keep coming back to this recipe
Only two main ingredients. Fresh fruit and applesauce, with a squeeze of lemon if you want to keep lighter fruits from browning. That’s it.
It’s a great way to rescue ripe fruit before it turns on you. A batch keeps for weeks once it’s dry, so nothing ends up in the compost bin. Most fruit is sweet enough on its own, but you can stir in a little honey or maple syrup if your batch is on the tart side.
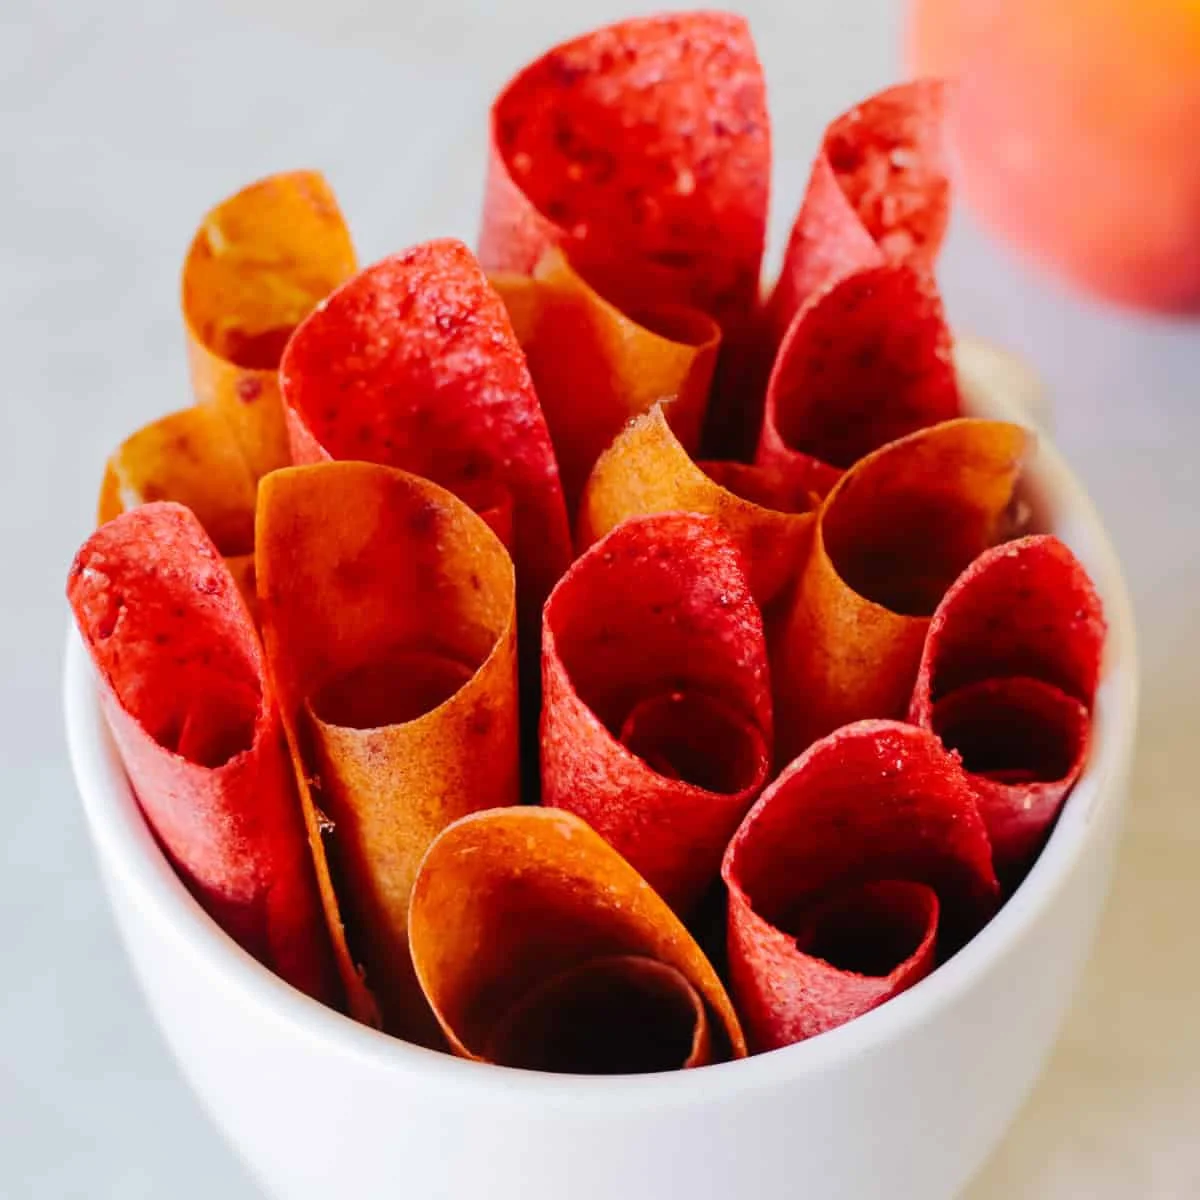
And it’s kid-approved, which is the real test in my house. Lunchboxes, road trips, after-school snacks. It rolls up in parchment and survives a backpack.
What fruit leather actually is
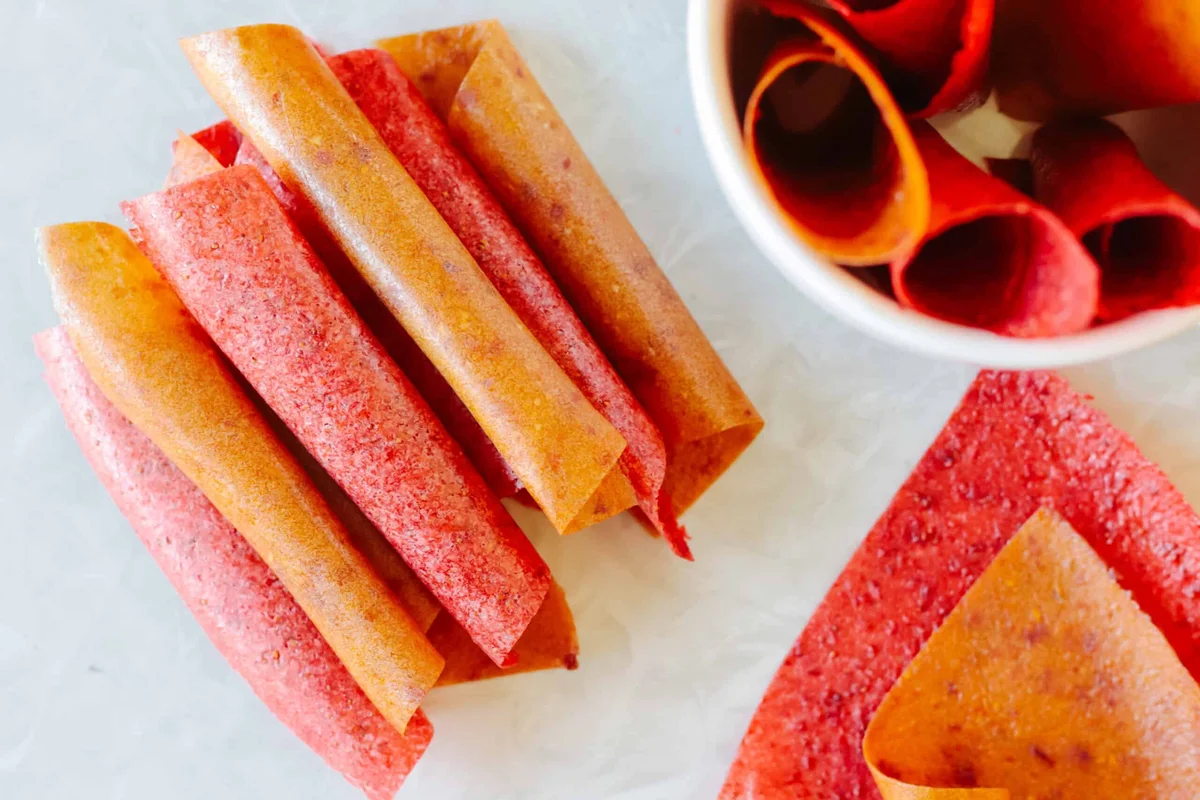
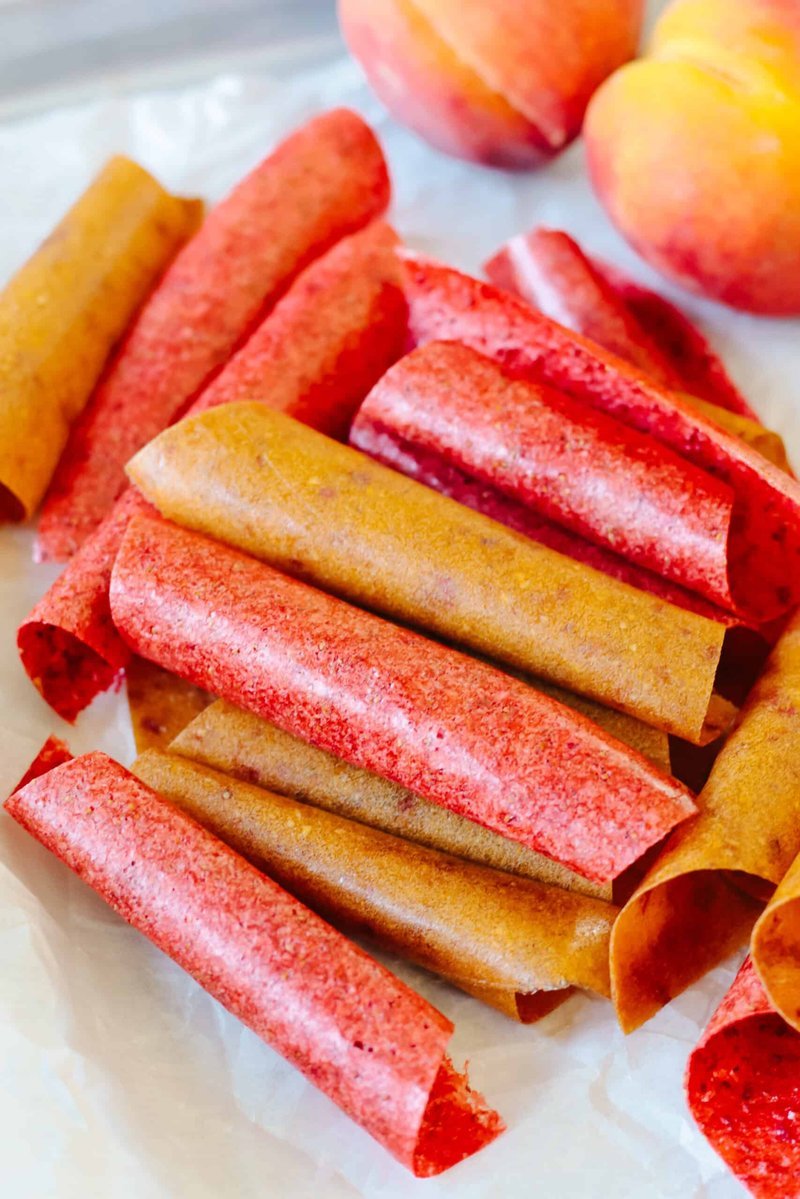
You puree fruit into a smooth mixture, spread it into a thin layer, and let it dry slowly until it’s soft, chewy, and flexible. Think store-bought fruit roll-ups, minus the mystery ingredient list. The applesauce does the quiet work: it smooths the texture, stretches the puree, and helps a lot of fruits dry evenly without muting the fruit flavor. I use unsweetened applesauce, and I promise you’ll barely taste it. The fruit is still the star.
I demoed this batch with strawberries, but the same method works beautifully with peaches, blueberries, raspberries, mangoes, and honestly, almost anything that rips in your kitchen. I don’t peel peaches for this. I just chop them up small, skin and all.
Dehydrator or oven: pick your lane
I make it in my dehydrator because the texture comes out better and my oven isn’t tied up for hours. If you own a dehydrator, use it. Mine came with fruit leather mats, and I ended up ordering an extra set so I could run two trays at once.
No dehydrator? Your oven is a perfectly good alternative. Lowest temperature, slow and patient, until it’s no longer sticky. Both methods are below, so you can use whichever kitchen you have.
What you need
Fruit leather is as flexible as your fruit basket. Almost any ripe fruit works. The ones I reach for:
- Strawberries
- Blueberries
- Raspberries
- Blackberries
- Peaches
- Mangoes
- Pineapple
- Apricots
- Plums
Mixes work too. Strawberry peach is the one I make most, but blueberry peach, mixed berry, raspberry apple, and mango pineapple are all worth a batch. Frozen fruit works fine as long as you thaw it and drain it first.
Ingredients
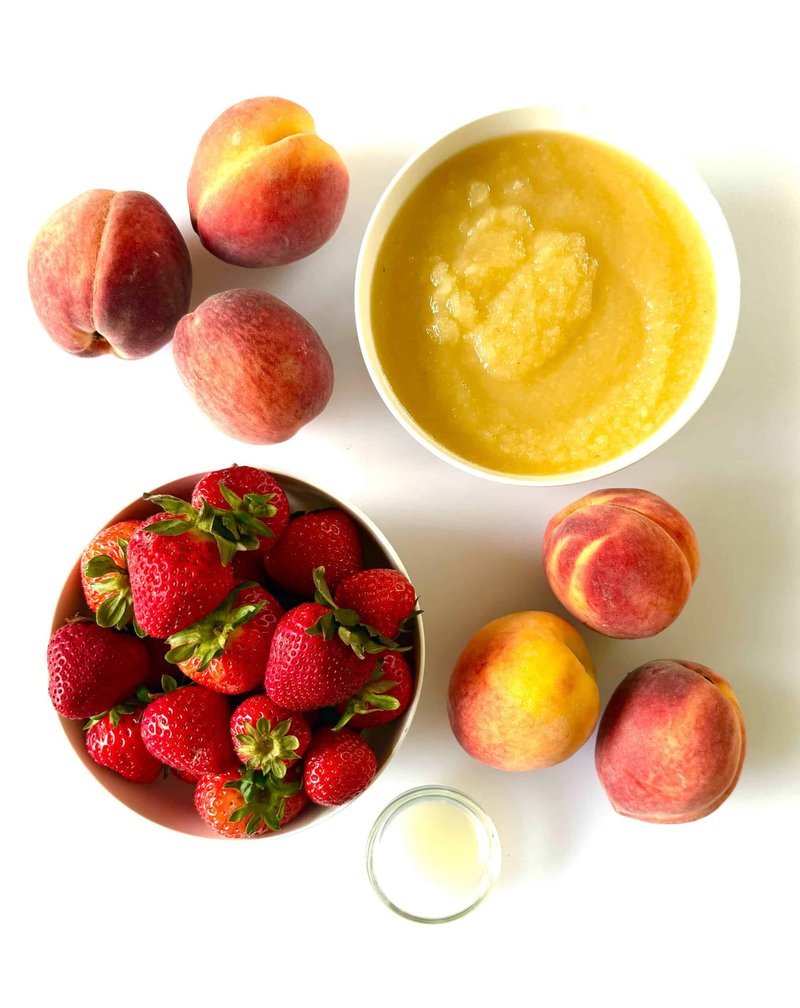
- 1 pound fresh or frozen fruit, ripe and washed
- 1 cup unsweetened applesauce
- 1 tablespoon lemon juice (optional, keeps lighter fruits bright)
That’s the whole list. One batch makes two dehydrator trays, or two jelly roll pans if you’re doing this in the oven.
How to make fruit leather in a dehydrator
- Prep the fruit. Wash it, and remove stems, pits, peels, or cores as needed. As above: peaches go in unpeeled, just chopped into small pieces.
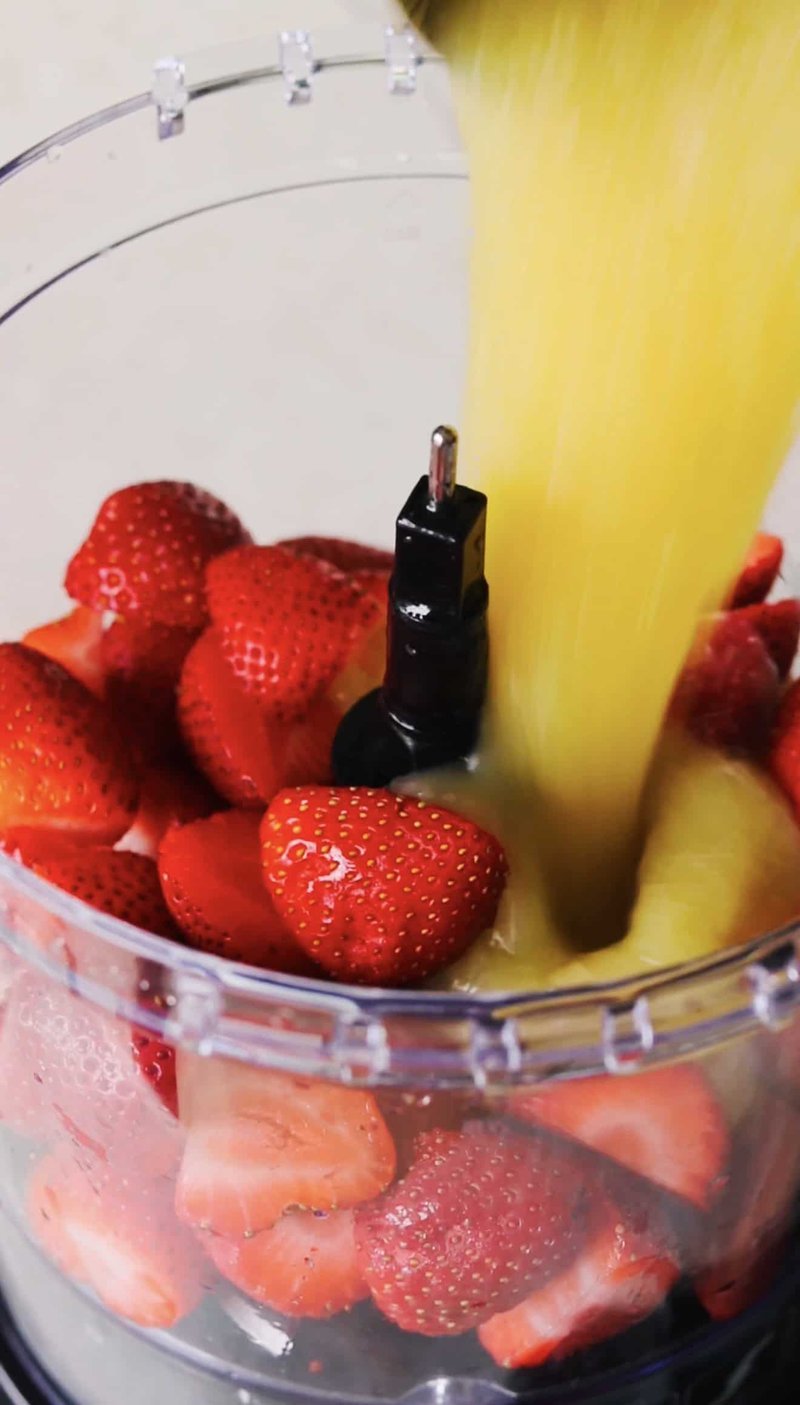
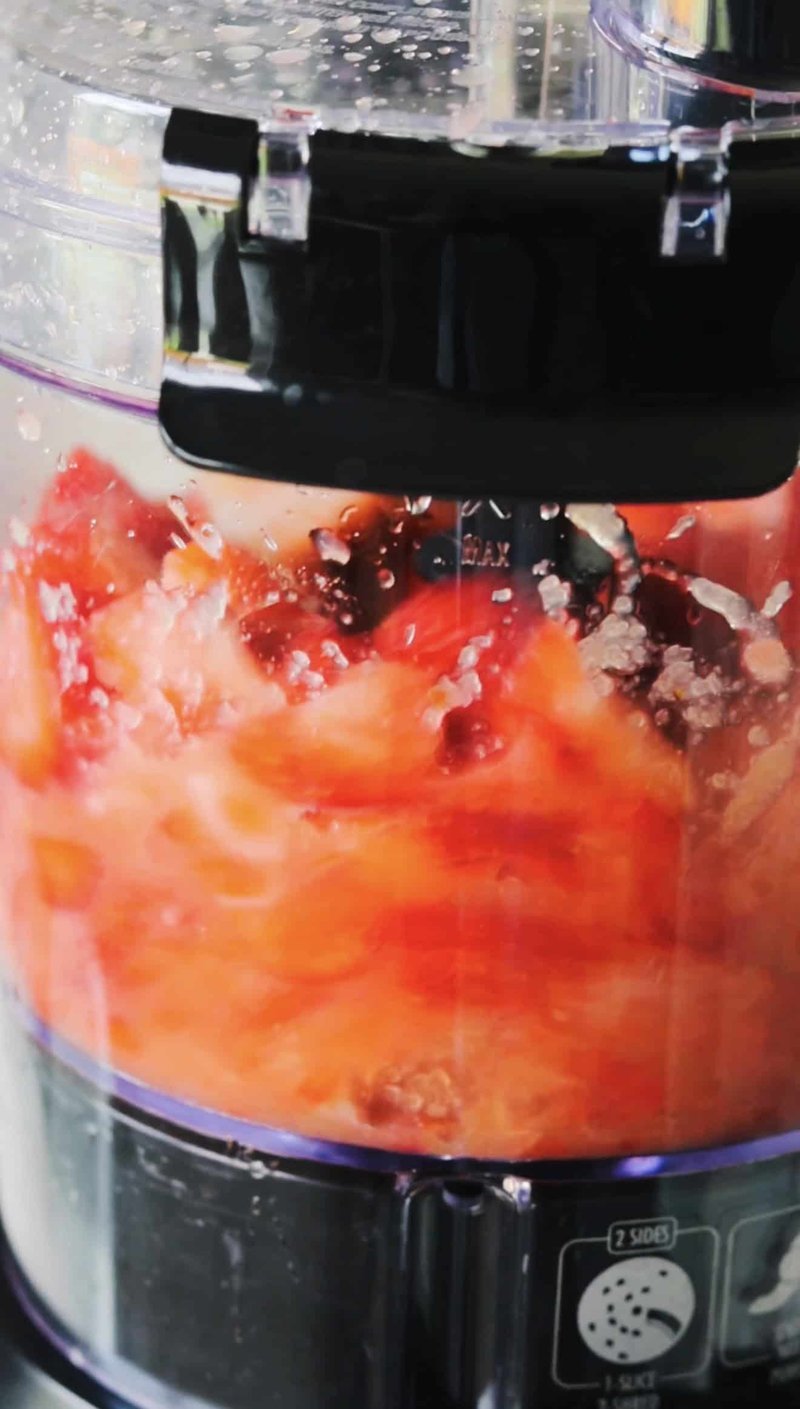
- Blend the puree. Combine the fruit, applesauce, and lemon juice in a blender or food processor. Blend until completely smooth. If it looks thinner than applesauce, it will take much longer to dry. Aim for applesauce thickness, not juice.
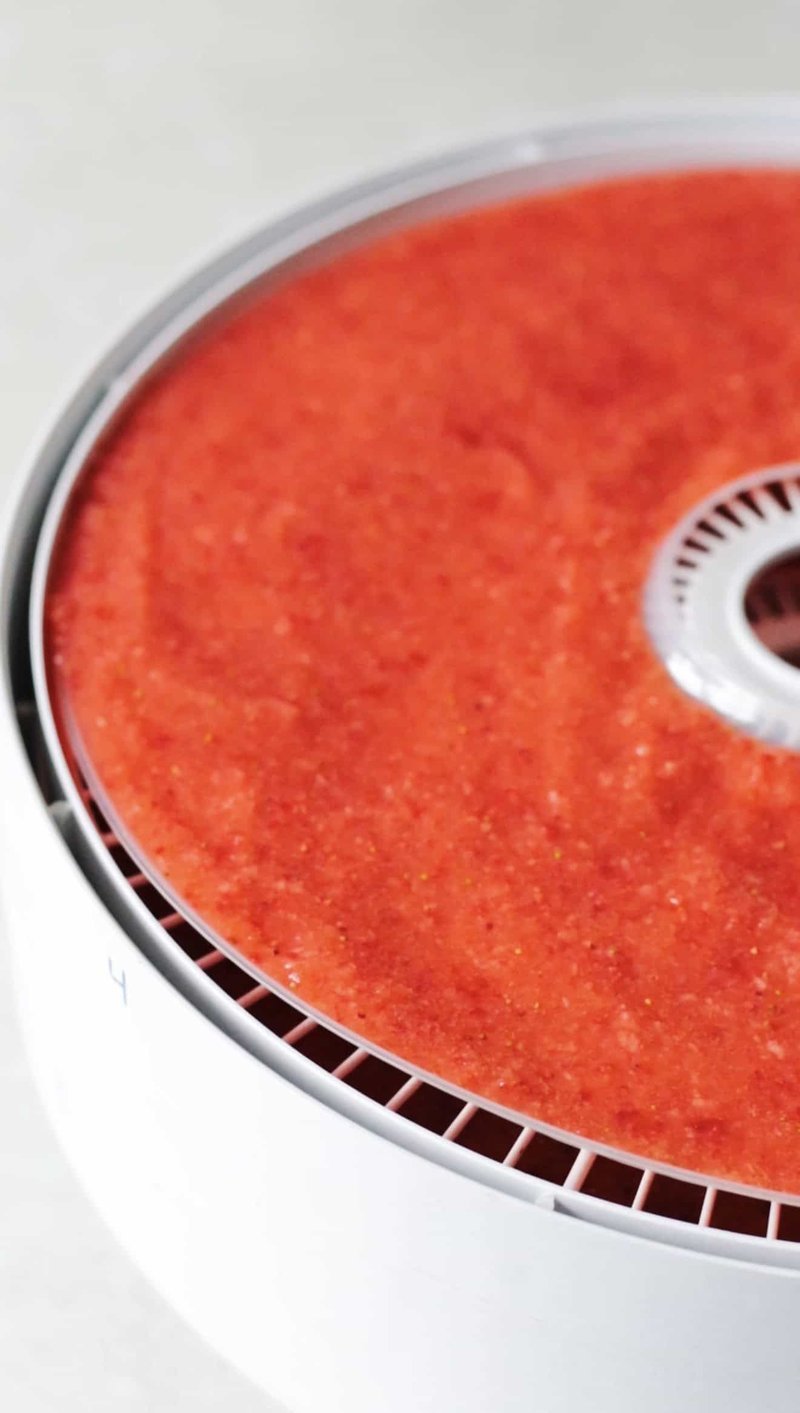
- Fill the trays. Lightly spray fruit leather trays or silicone liners with nonstick cooking spray. Pour in the puree and spread it into an even layer about 1/8 inch thick with an offset spatula. Leave the edges just a little thicker than the center so everything dries at the same pace.
- Dry it. Set the dehydrator to 135 degrees F and let it run 6 to 10 hours, depending on the fruit, the humidity, and how thick you spread it. It’s done when it peels easily from the tray and isn’t sticky to the touch.
- Cool and cut. Let it cool completely, peel it off, and cut it into strips with kitchen scissors or a pizza cutter. Roll each strip in parchment paper and you’re set.
How to make fruit leather in the oven
Same puree, different drying station.
- Preheat the oven to its lowest setting, ideally 170 degrees F or lower.
- Line a rimmed baking sheet with parchment paper or a silicone baking mat.
- Spread the puree into an even 1/8-inch layer, edges slightly thicker than the center.
- Bake 4 to 8 hours, checking every so often. Rotate the pan if your oven has hot spots.
- It’s ready when it peels easily from the parchment and feels dry but still flexible. Cool completely, then cut into strips.
Tips from the counter
- Use ripe fruit. It’s the difference between snack food and a science project.
- Blend until perfectly smooth. The texture of the finished leather comes straight from the blender.
- Don’t thin the puree down. Juicy fruit plus a thin puree means a lot more drying time.
- Spread it evenly, edges a touch thicker. That’s what keeps the whole sheet dry at the same time.
- Stop before it’s too dry. Good fruit leather bends without cracking.
- Sticky? It needs more time. Keep drying in 30-minute increments until the surface isn’t tacky.
- Cracked? You went too far. It should be soft, flexible, and easy to roll.
Make it yours
Once you’ve got the basic batch down, this recipe is basically a blank slate. Strawberry peach is my favorite. Peach apricot is close behind. Apple cinnamon in the fall is the move. If your fruit is extra tart, stir in a tablespoon or two of honey or maple syrup before it goes in. And don’t be precious about combinations: whatever is getting soft in your crisper drawer is your fruit leather, and it’s going to taste like the fruit it was made from.
Frequently asked questions
Can I make fruit leather without a dehydrator? Yes. Spread the puree on a parchment-lined baking sheet and dry it in your oven on the lowest setting until it’s no longer sticky but still flexible.
Is a dehydrator better than an oven? For texture, yes. It dries fruit more evenly at a lower temperature. The oven is still a great option if you don’t own one.
Why isn’t my fruit leather drying? Drying time depends on the fruit, the humidity, the thickness, and your appliance. Keep drying until it peels easily and feels dry to the touch.
Do I have to use applesauce? No, but it makes the texture smoother, adds a little sweetness, helps a lot of fruits dry more evenly, and stretches the recipe. I just don’t make it without.
Can I mix different fruits? Absolutely. Use whatever ripe fruit you have on hand and blend combinations until you find the one you like.
How do I store it? Once completely dry, cut it into strips and keep it in an airtight container or zip-top bag in a cool, dry place. It keeps for about 2 weeks at room temperature, 2 months in the refrigerator, or up to 6 months in the freezer.
Recipe card
Prep time: 10 minutes Cook time: 8 hours Total time: 8 hours 10 minutes
Servings: 16 Per serving: 16 calories
Equipment: dehydrator (or oven), blender or food processor, fruit leather trays or a rimmed baking sheet
Ingredients: 1 pound fresh or frozen fruit, 1 cup unsweetened applesauce, 1 tablespoon lemon juice
Method: prep and blend, spread 1/8 inch thick, dehydrate at 135 degrees F for 6 to 10 hours or bake at 170 degrees F or lower for 4 to 8 hours, cool, cut, roll. Notes: one batch makes two trays. Store airtight for about 2 weeks at room temperature, 2 months refrigerated, or up to 6 months frozen.
Nutrition per serving (approximate): 16 calories, 4g carbs, 0.2g protein, 0.1g fat, 1g fiber, 3g sugar.
Happy cooking, Maya.