
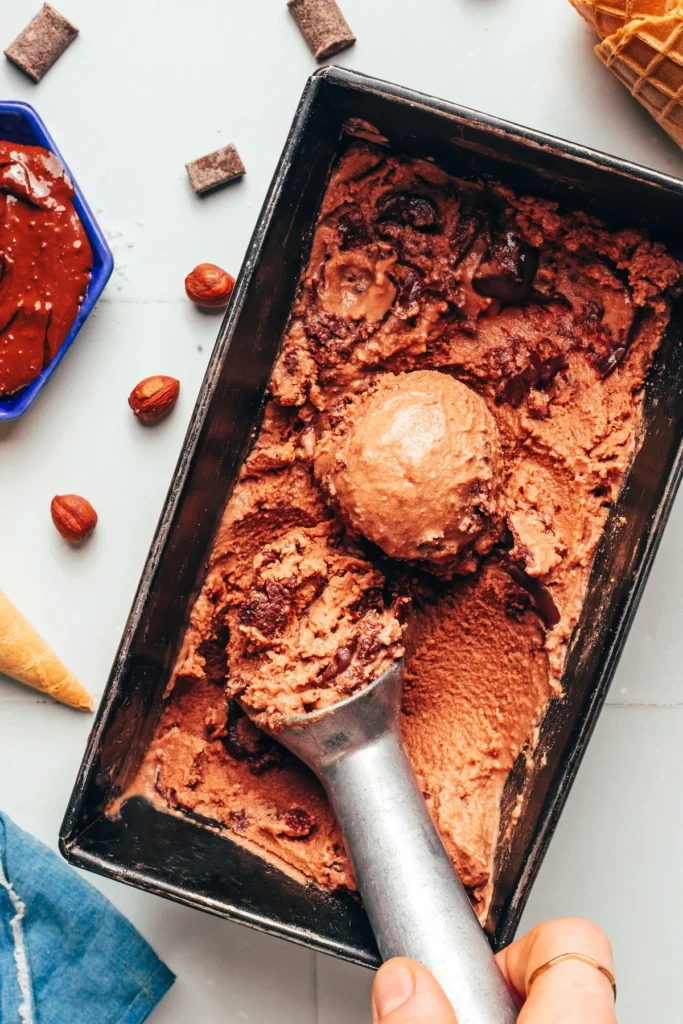
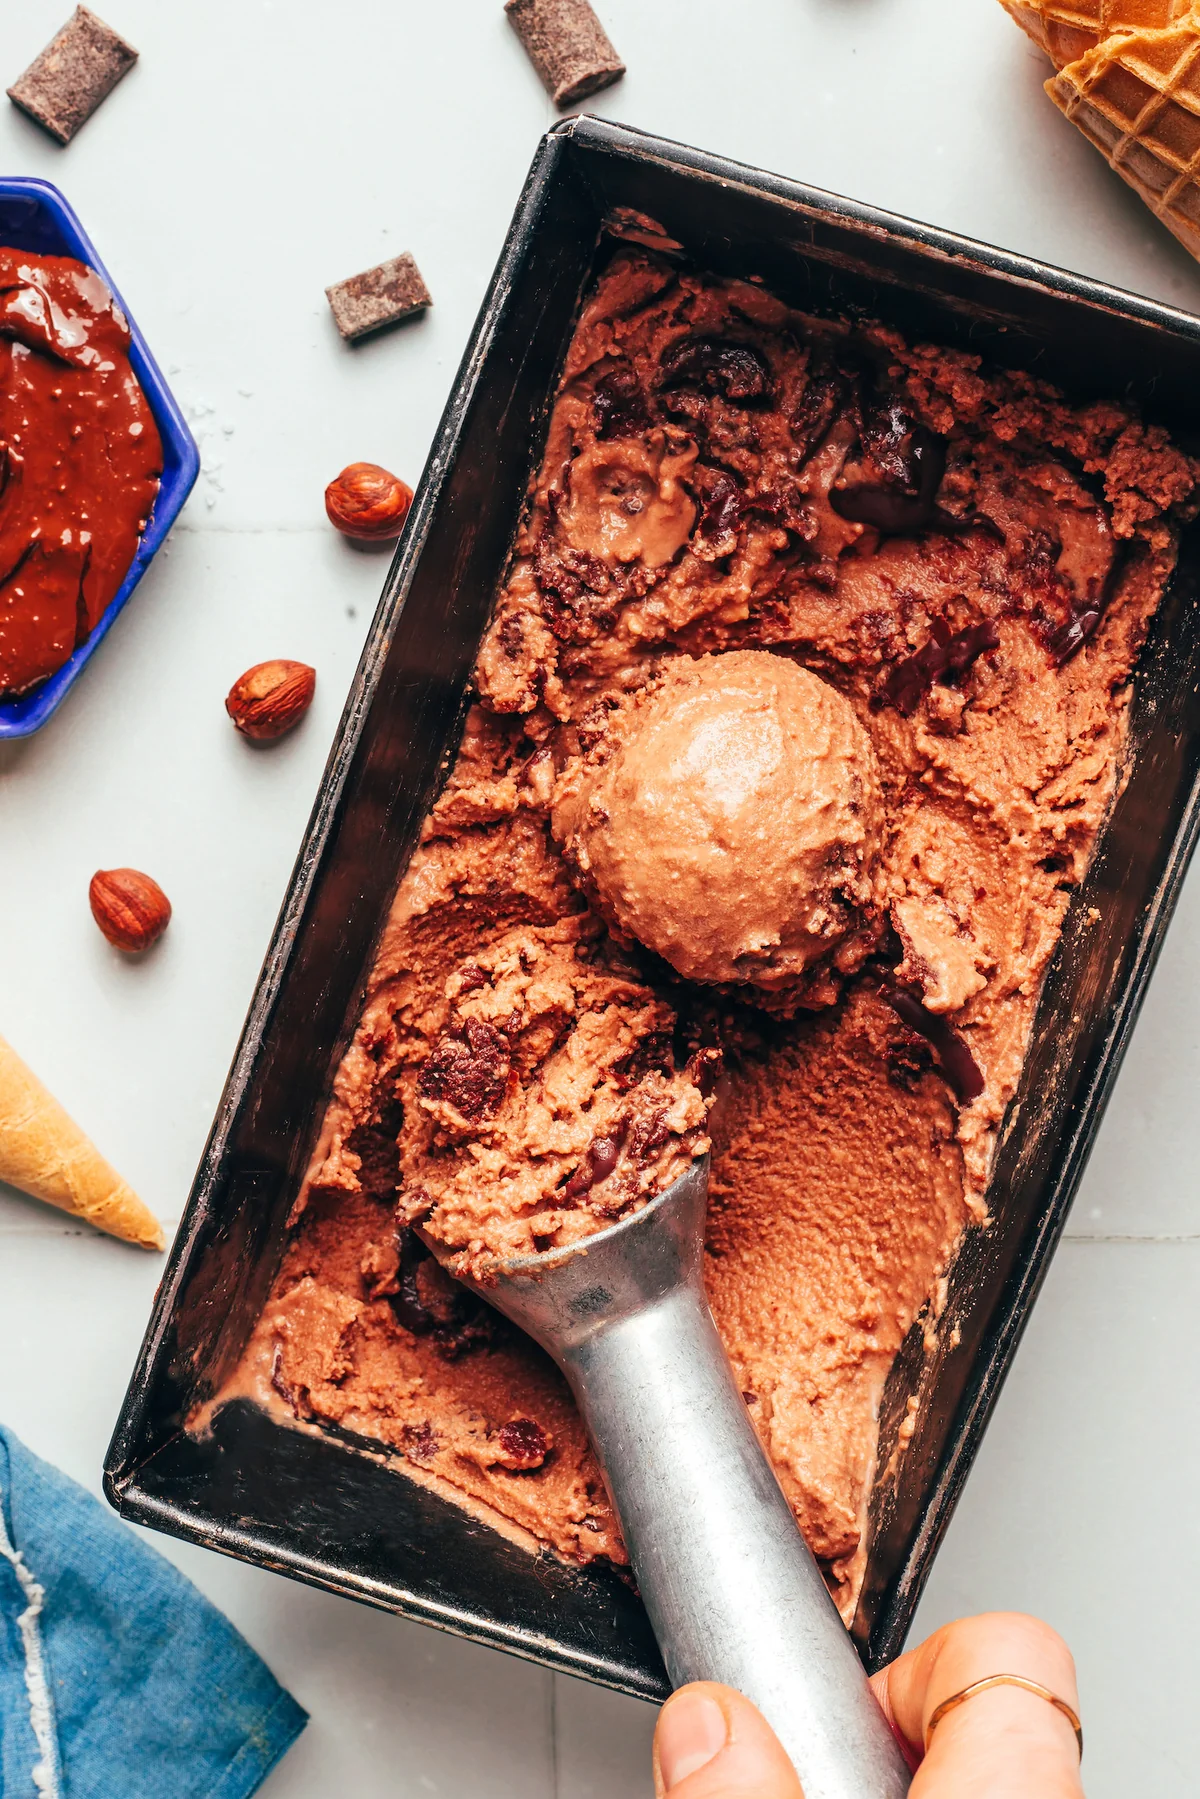
The first two times I made this, it tasted good but looked sad — dense, a little crumbly, not one bit of what I wanted. The third time I stopped rushing the roasting and let the chocolate fully melt, and suddenly the churn came out thick and glossy, swirled with ribbons of nut chocolate. It’s the kind of thing that makes you forget it’s entirely plant-based.
Here’s the honest version of what this is: a warm-day dessert that needs an ice cream maker and a good chunk of the afternoon. Real time: about 3 hours (mostly freezer and fridge waiting). Hands-on: around 30 minutes, and you can do most of it the day before.
Why this one works
It starts the same way my homemade nut spread does — roasting hazelnuts to wake up their oils and loosen the skins. Blend them with melted chocolate and you have a homemade, better-for-you nut chocolate spread, the kind that’s even better as an ice cream base than as a toast topping. The coconut milk and cane sugar round it out, and a little vanilla and salt do the quiet work of making chocolate taste like chocolate.
The best part is that the base can sit in the fridge for a few hours (or overnight). So you can do all the prep on a quiet morning and churn it on the evening the heat actually arrives.
What you need
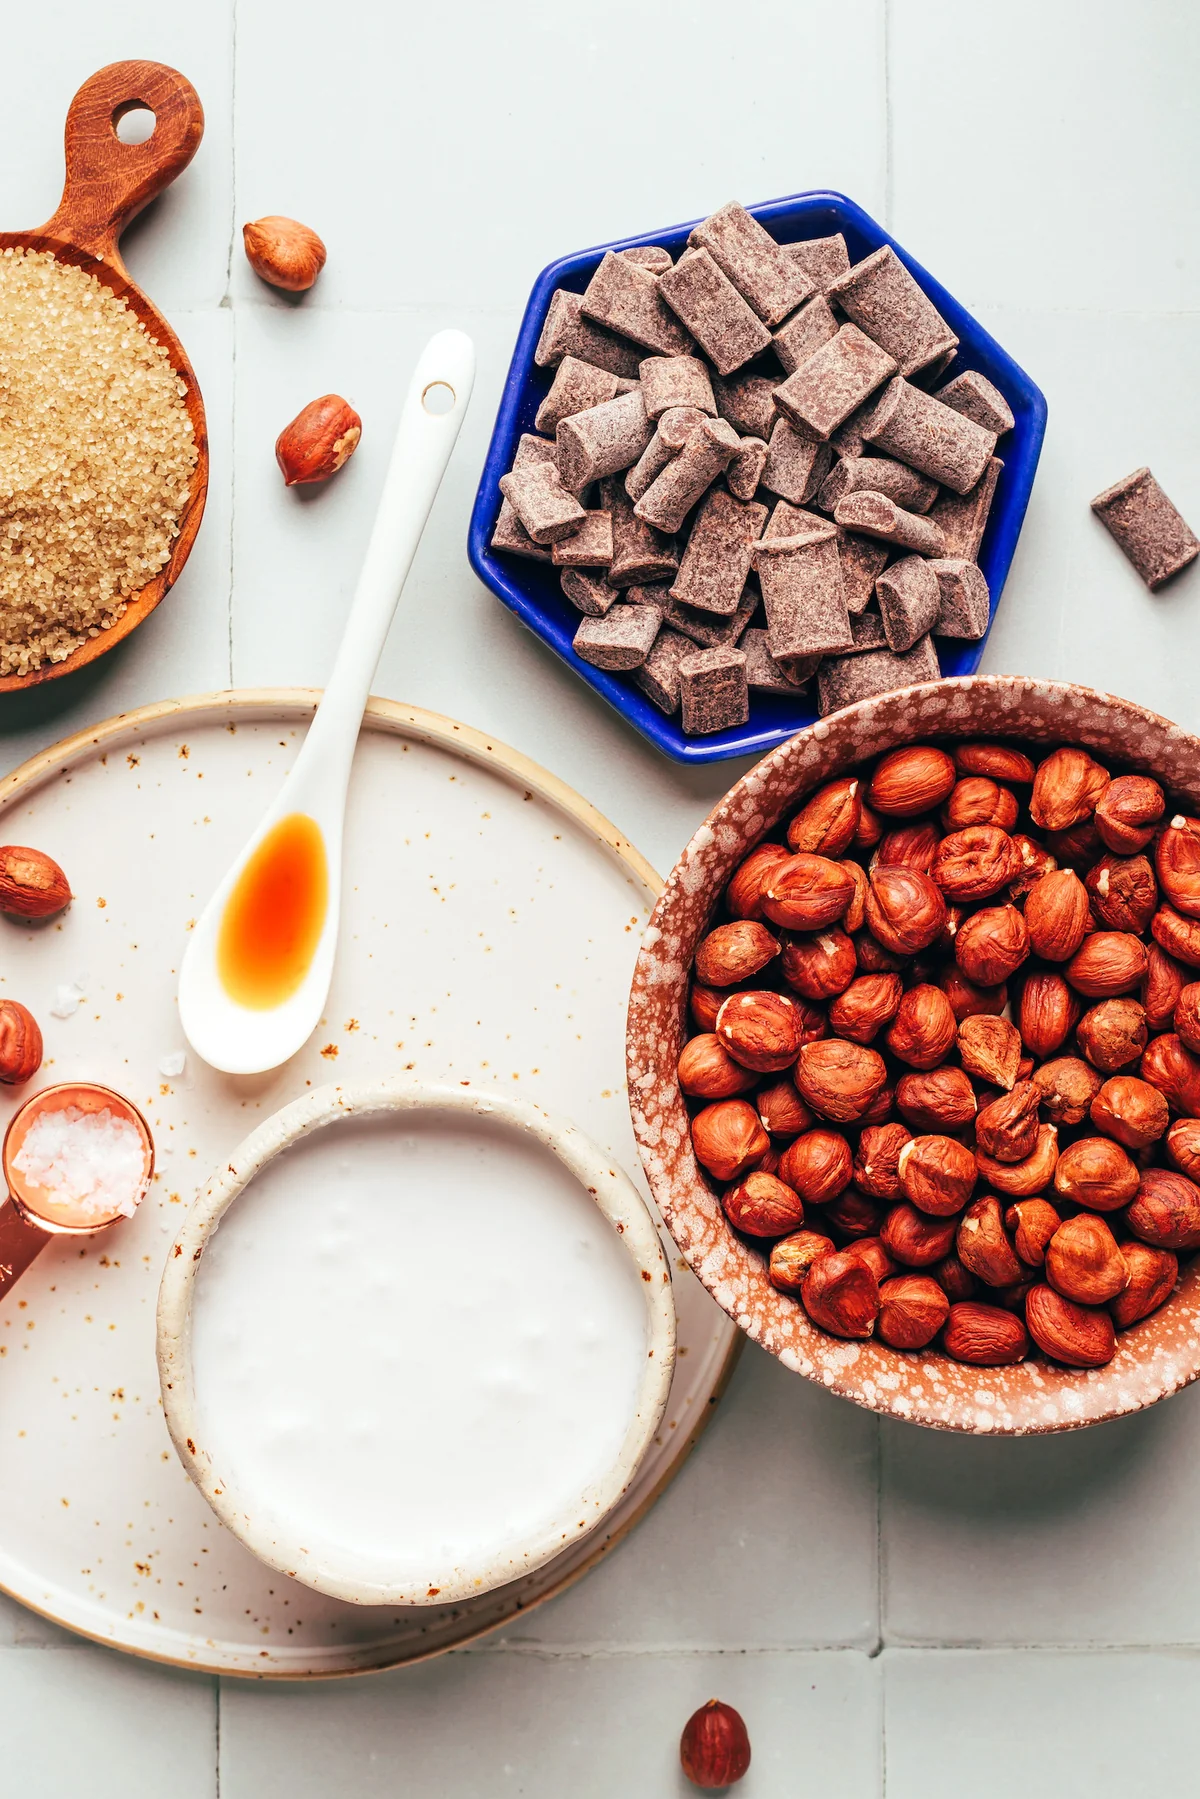
- 1 cup raw hazelnuts
- 1 cup semi-sweet chocolate chips or chunks (we like Enjoy Life)
- 2 (14-oz) cans light coconut milk (we like Whole Foods 365 — see note below)
- 1/4 cup cane sugar (organic if you want this strictly vegan)
- 1 tsp vanilla extract
- 1/8 tsp sea salt
Makes 9 servings (about 1/2 cup each). Keeps in the freezer, well covered, for up to 1 month.
How to make it
The day before you plan to churn, pop your ice cream maker’s bowl in the freezer so it’s properly cold. That’s the only true “prep” — everything else happens when you’re ready.
- Roast the hazelnuts. Preheat the oven to 350°F (176°C) and spread the nuts in a single layer on a bare baking sheet. If they’re raw, roast 10–12 minutes. If already roasted, just 8–10 minutes to warm the oils and loosen the skins. Let them cool slightly, then roll them in a kitchen towel until most of the skins rub off. You don’t have to get every last one — just as many as you reasonably can, since skin-free nuts blend creamier.
- Blitz the hazelnuts. Transfer them to a high-speed blender and run from low to high until they look like coarse crumbs.
- Melt the chocolate. In a small saucepan over low heat, stir until about half the chips are melted (roughly 1 minute), take it off the heat, and stir until fully smooth. Microwave works too — 30-second bursts, stirring between.
- Make the spread. Pour the melted chocolate into the blender and run from low to high until it’s a completely smooth nut chocolate spread. The smoother, the better — plan on about 3 minutes. Scoop out 3 tablespoons and set them aside; you’ll want them for the swirl.
- Make the base. To the remaining spread, add the light coconut milk, cane sugar, vanilla, and salt. Blend on high until smooth, creamy, and fully combined.
- Cool it down. Pour the base into an airtight container and refrigerate for at least 1 hour. This is where the “do it ahead” trick lives — the base is happy waiting for hours or overnight.
- Churn. Add the chilled base to your ice cream maker and churn according to the machine’s instructions. Ours took 30 minutes, and it should come out like a thick soft serve.
- Swirl it in. Spoon the reserved nut chocolate spread over the top and gently fold it in — you want ribbons and streaks, not a uniform mix. Eat it right now if you like it soft, gelato-style.
- Firm it up. Or transfer it to a freezer-safe container, smooth the top with a spoon, press parchment onto the surface, and freeze for at least 1 hour, or until firm. Let it sit out 10–15 minutes before scooping.
One technique note, because it matters: for the creamiest result, use a light coconut milk brand that’s smooth and creamy (Whole Foods 365 is what we reach for). These usually contain emulsifiers like guar gum, which is exactly what keeps the ice cream from turning icy.
Make it yours
Chopped roasted hazelnuts stirred through before freezing give you real crunch in every scoop. Want it less sweet? Drop the cane sugar to 1/3 cup — the roasted nuts carry more sweetness than you’d think. And if you make extra spread (you will), keep the rest in a jar. It outlasts the ice cream by about a week, and toast doesn’t care about your dairy-free plans.
Happy cooking,
Maya