
The first time I made these tartlet shells, I had a whole bag of fresh raspberries in the fridge and absolutely no idea what to do with them. I’d been making big sharing tarts forever, but the idea of a proper single-serve shell I could actually eat with my hands without it falling apart? That won me over.
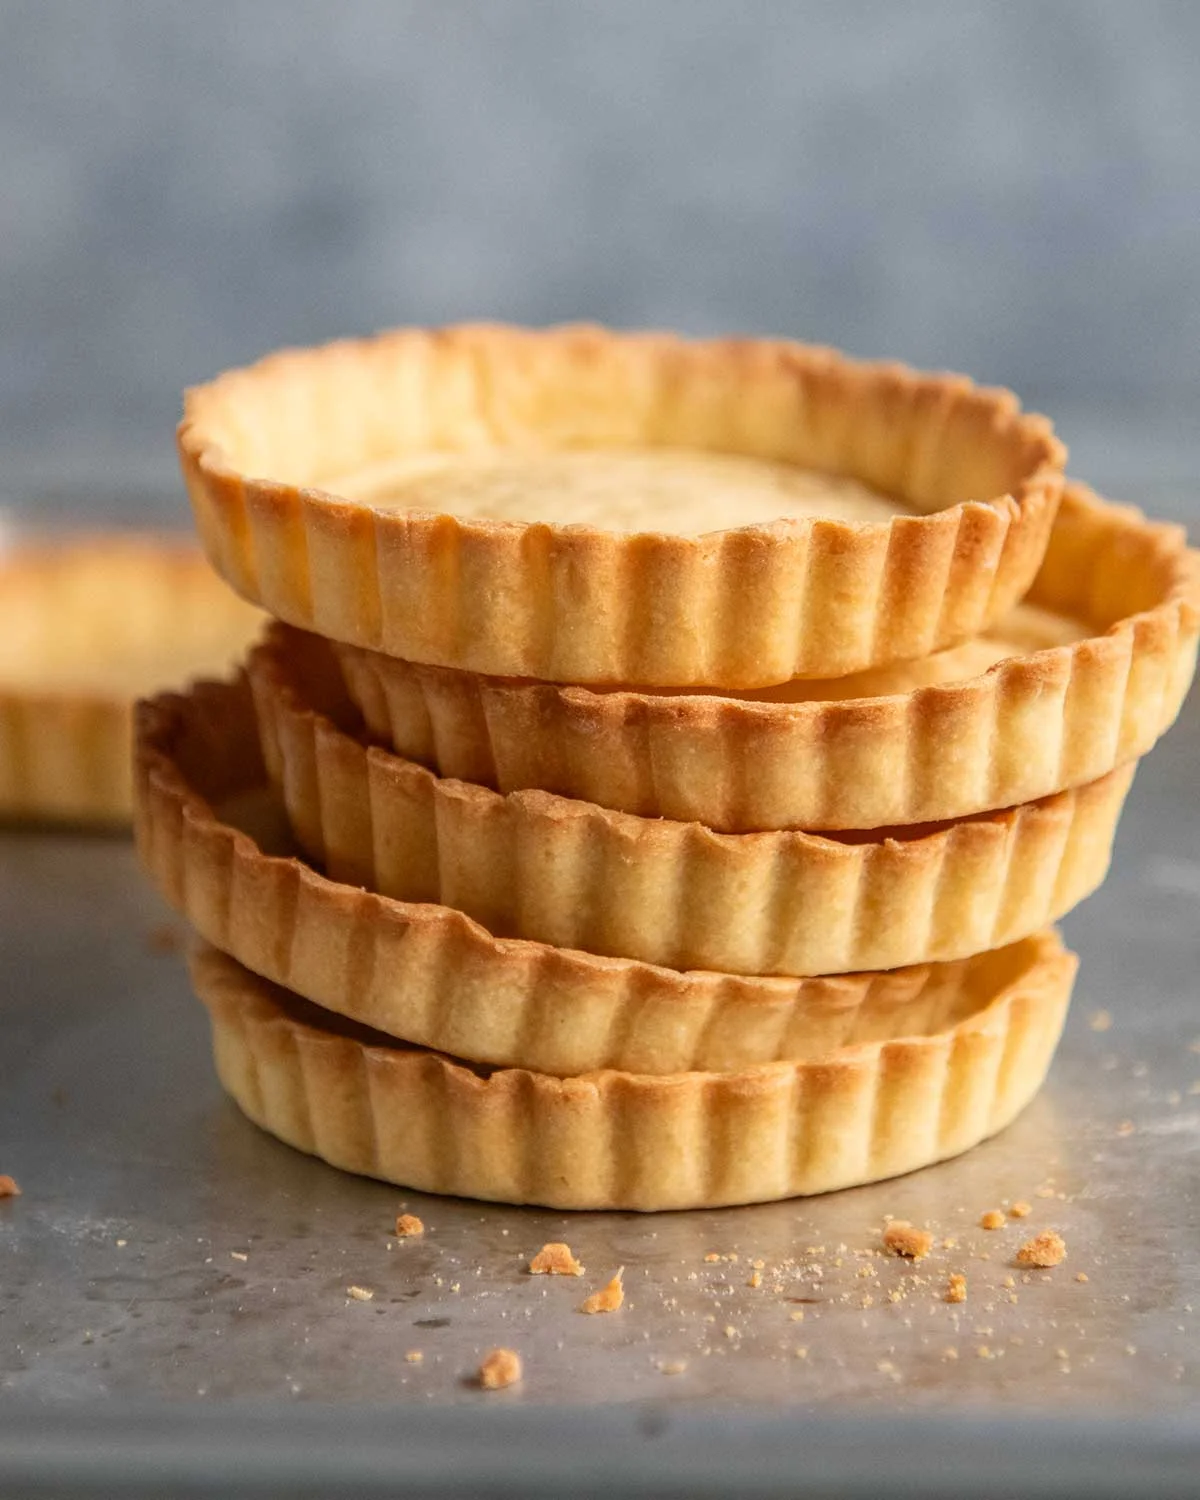
So I made pâte sucrée — the classic French pastry for sweet tarts — and it’s been my default ever since. It’s crisper and more delicate than regular shortcrust, and the dough is easier to work with. No crumbling mess when you take a bite. You get a shell that holds together while still feeling light.
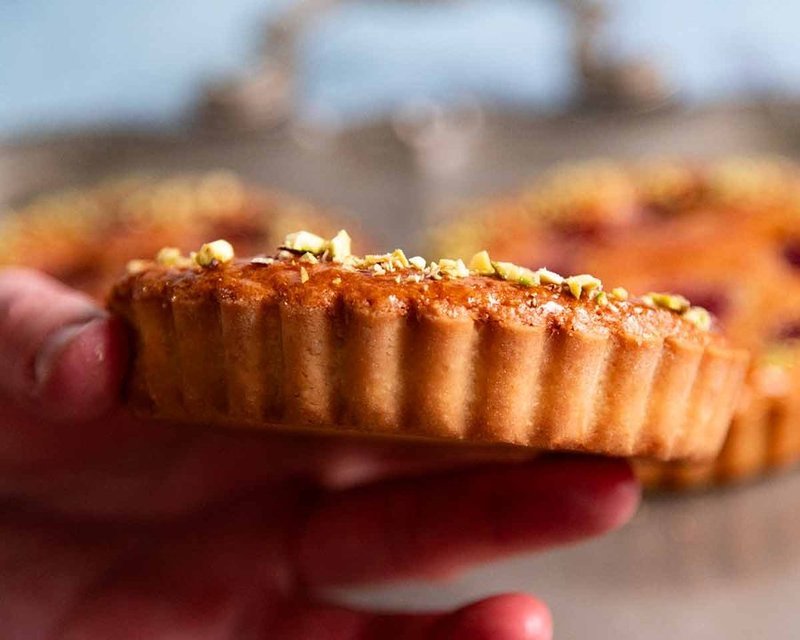
Real time: about 1 hour and 32 minutes total, but only 20 minutes of it is hands-on. The rest is chilling in the fridge and baking. If you’ve ever looked at a French pastry recipe and felt it was asking too much of a Sunday afternoon, this is the one to start with.
What you’ll need
- 1 1/2 cups plain (all-purpose) flour
- 1/2 cup soft icing sugar (powdered sugar), sifted
- 2 1/2 tbsp almond meal (ground almonds) — not the finer almond flour
- 1/4 tsp salt
- 100g / 7 tbsp unsalted butter, softened and cut into small cubes
- 1 large egg, at room temperature (about 50–55g / 2 oz)
The almond meal and icing sugar are what set pâte sucrée apart from a regular shortcrust. The almond adds a quiet nuttiness that plays well with sweet fillings and keeps the texture a little more tender. The egg is what makes the dough actually pliable instead of prone to cracking.
Can’t find almond meal? Ground hazelnuts work as a substitute, though the crust will taste of hazelnut instead. And if the icing sugar is on the coarser side, sift it so it folds into the dough smoothly.
How to make the dough
I used to make this by hand, mostly because it felt like it earned me extra French pastry points. Then I discovered the food processor takes about 30 seconds and comes out exactly the same. Now I use it. On a slow Sunday with nowhere to be, I still like the hands-on version, but I won’t pretend it’s the practical choice.
By hand: Mix the flour, icing sugar, almond meal, and salt in a bowl. Rub the butter in with your fingertips until it looks like breadcrumbs — about 5 minutes at a leisurely pace. Then mix in the egg with a wooden or rubber spatula until it’s too thick to stir. Finish by kneading in the bowl with your hands until it comes together into a smooth ball.
Food processor (about 30 seconds): Pulse the dry ingredients once to combine. Add the butter and pulse 4 to 5 times until it looks like breadcrumbs. Add the egg and pulse for 15 to 20 seconds until a dough ball forms.
Turn the dough out onto a work surface. Knead lightly, then shape it into a disc about 2cm / 0.8 inch thick. Wrap it tightly in cling wrap and refrigerate for 30 minutes. This firms up the butter, which is what gives you the crisp, flaky edge in the finished shell.
Rolling out and lining the tins
For six standard tartlet tins around 12cm / 4.7 inch in diameter, the most efficient way is to portion the dough into six equal pieces and work with them individually. Cut the disc like a pizza, then roll each piece into a ball.
Roll each ball out into a round about 15cm / 6.5 inch in diameter — roughly 3mm / 1/8 inch thick. Drape it into a tartlet tin and gently fold it into the corners. Don’t pull or stretch the pastry; that’s what makes it shrink in the oven. You don’t need to grease the tins, even if they aren’t non-stick. The butter in the pastry does that job on its own.
Run the rolling pin across the top of the tin to trim off the excess. Prick the base with a fork about 10 times, not all the way through — this stops the base from puffing up during the blind bake. Refrigerate for another 30 minutes before baking. Think of it as an insurance policy for the butter in case it got too soft while you were rolling.
If you’re making mini shells in a muffin tin instead, skip the individual balls. Roll the whole dough into one large sheet, cut out rounds with a cutter, line the tins, then gather the scraps and re-roll as needed. It’s a simpler workflow for a lot of small tins.
Baking
Preheat your oven to 200°C / 390°F (180°C fan-forced). For each tartlet, cut a piece of baking paper about 50% larger than the tin, crumple it into a ball, then unfold it. The creases make it flexible, so it presses neatly into the base and corners instead of springing back like a flat sheet would.
Fill each lined tin with baking beads, or uncooked rice, or dried beans. The weights keep the shell in shape — they stop the base from puffing and the walls from sliding down as the butter melts.
Bake for 12 minutes. If the tarts are going to be filled with something that needs to bake — frangipane, baked custard — leave them in for another 5 minutes after removing the weights, so the edges turn light golden. If they’re getting a no-bake filling like custard cream or chocolate ganache, bake for a full 14 minutes from the start so the base cooks all the way through. It’s a small difference, but it saves you from an underbaked base later.
Use the paper overhang to pull out the beads — they’re hot, so give them a moment. Then let the shells cool completely in the tins before you fill or use them.
For mini shells in a muffin tin, the timing changes: 12 minutes with the weights, then only 2 minutes uncovered to just get them golden. Smaller tins bake faster, and you don’t want them going past light golden.
What to put in them
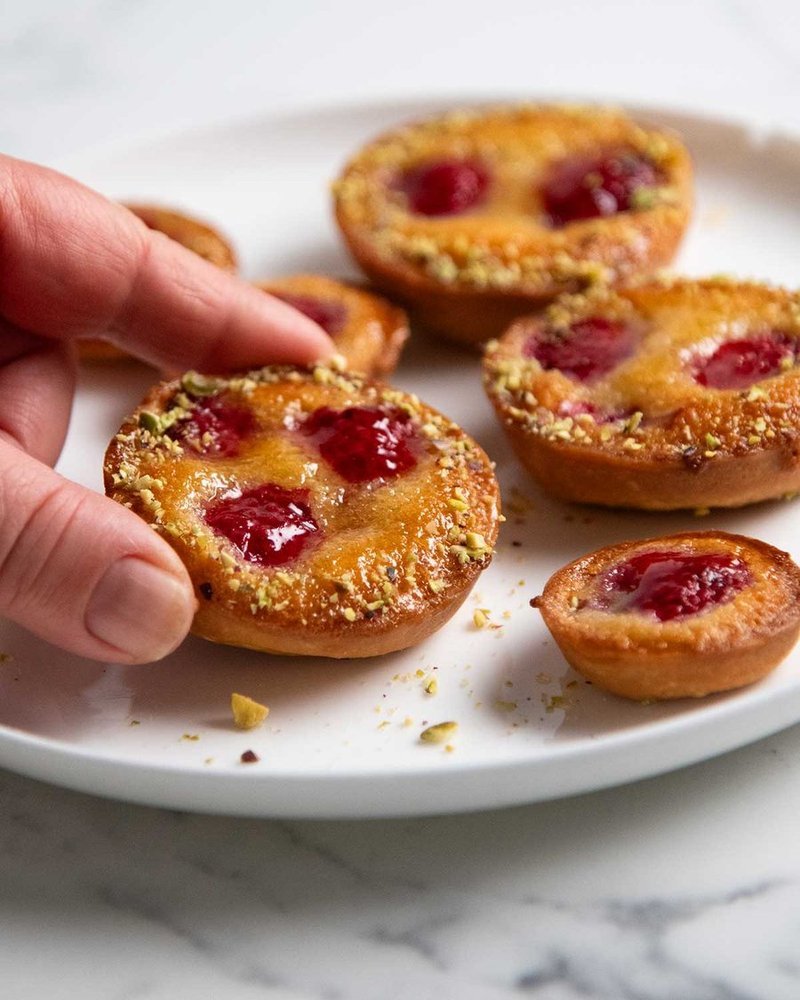
The shells are the blank canvas. No-bake fillings work great: pastry cream with fresh fruit, lemon curd, chocolate ganache, cheesecake filling, mousse. Baked fillings work too — almond cream frangipane with fresh raspberries on top is a favorite, or a baked custard. Just remember to blind bake for the shorter time first if the filling will go back into the oven, so the crust doesn’t get overly brown.
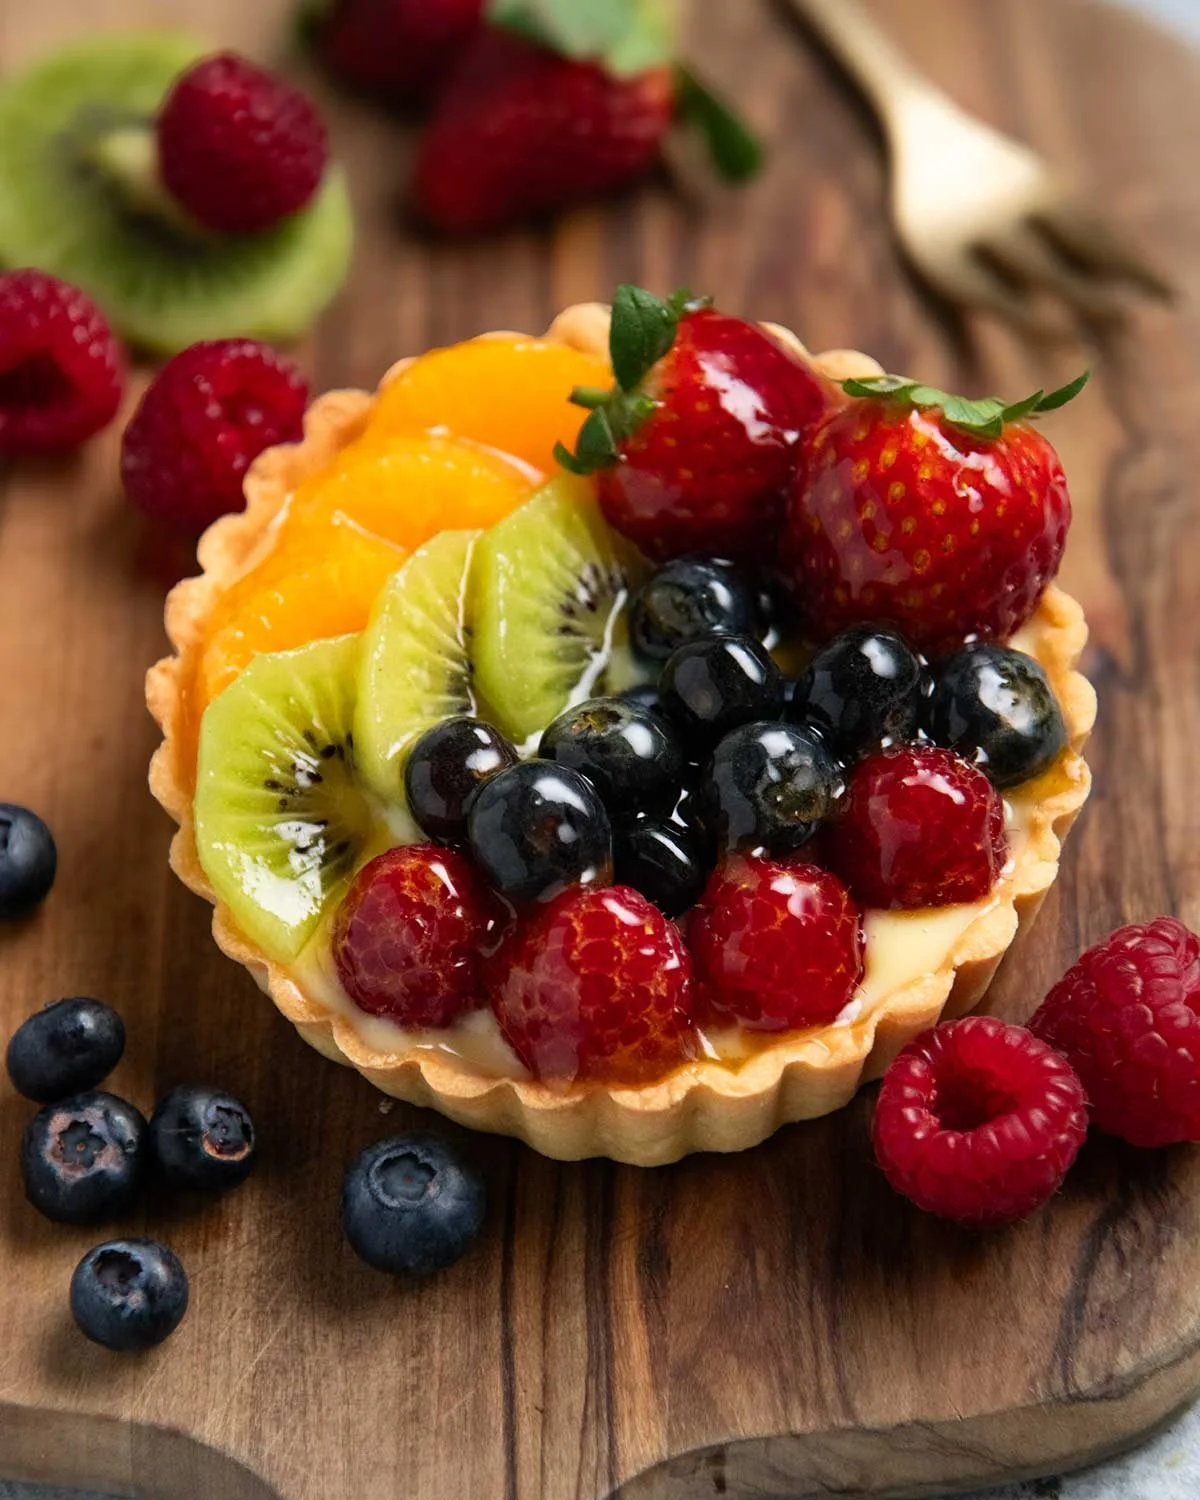
Unfilled shells keep for 3 days in an airtight container. Fridge if it’s hot out, pantry if it’s mild. The dough itself can be made ahead and kept in the fridge for up to 2 days; let it sit at room temperature for 20 to 30 minutes before you roll.
A few quick answers
Can I make a single large tart instead? Yes, but a recipe designed for one large tart handles the rolling and baking a bit differently, so it’s worth looking for one specifically for that size.
What if I don’t have tartlet tins? A regular or mini muffin tin works fine. Roll one large sheet, cut circles, line the tins. Adjust the final bake down to 2 minutes uncovered.
Can I skip the almond meal to make it nut-free? Probably fine — it’s a small amount and mainly there for flavor and texture. If the dough feels a little too sticky when you bring it together, dust a little extra flour on it and knead briefly.
Will gluten-free flour work? I haven’t tested it. The absorbency is different, so I can’t promise the pastry will hold up the same way. Try it, but don’t be surprised if the texture shifts a bit.
Make it yours
Once you’ve got a batch of shells cooling on the counter, the filling is really up to you. A spoon of lemon curd and a few raspberries in summer. Chocolate ganache and a crack of sea salt in winter. Almond cream and fresh blackberries when you want something that tastes like a patisserie without the queue. The shell does the work; you just get to decide what it’s holding.
Happy cooking, Maya