
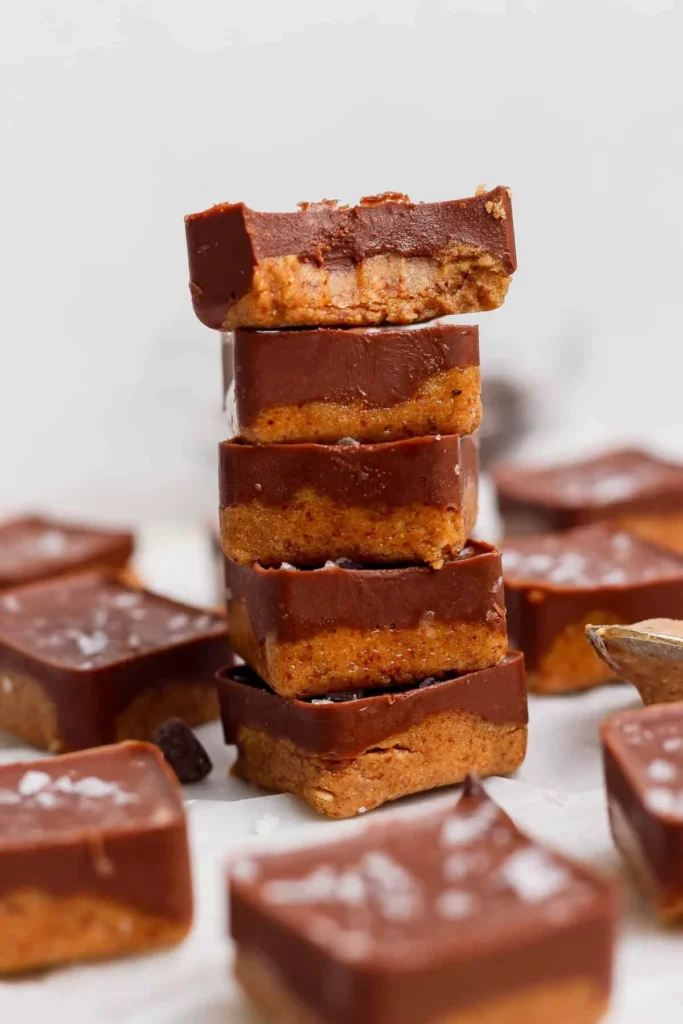
The first batch I made came out of the tray like little bricks of regret — dry, crumbly, and exactly the kind of thing you toss in the compost and pretend never happened. Same with batch two. By the third, I’d figured out the one thing that was tripping me up all along: my nut butter was still separated in the jar, oil and solids living separate lives. Stir it properly, and suddenly the whole method just works.
Now these are the snack living in my freezer. Same easy base — nut butter, whey protein, maple syrup — pressed into a silicone ice cube tray instead of rolled into balls, then built into two completely different flavors: a Thin Mint version with a poured chocolate shell and flaky salt, and a S’mores version loaded with marshmallows, dark chocolate, and graham crackers.
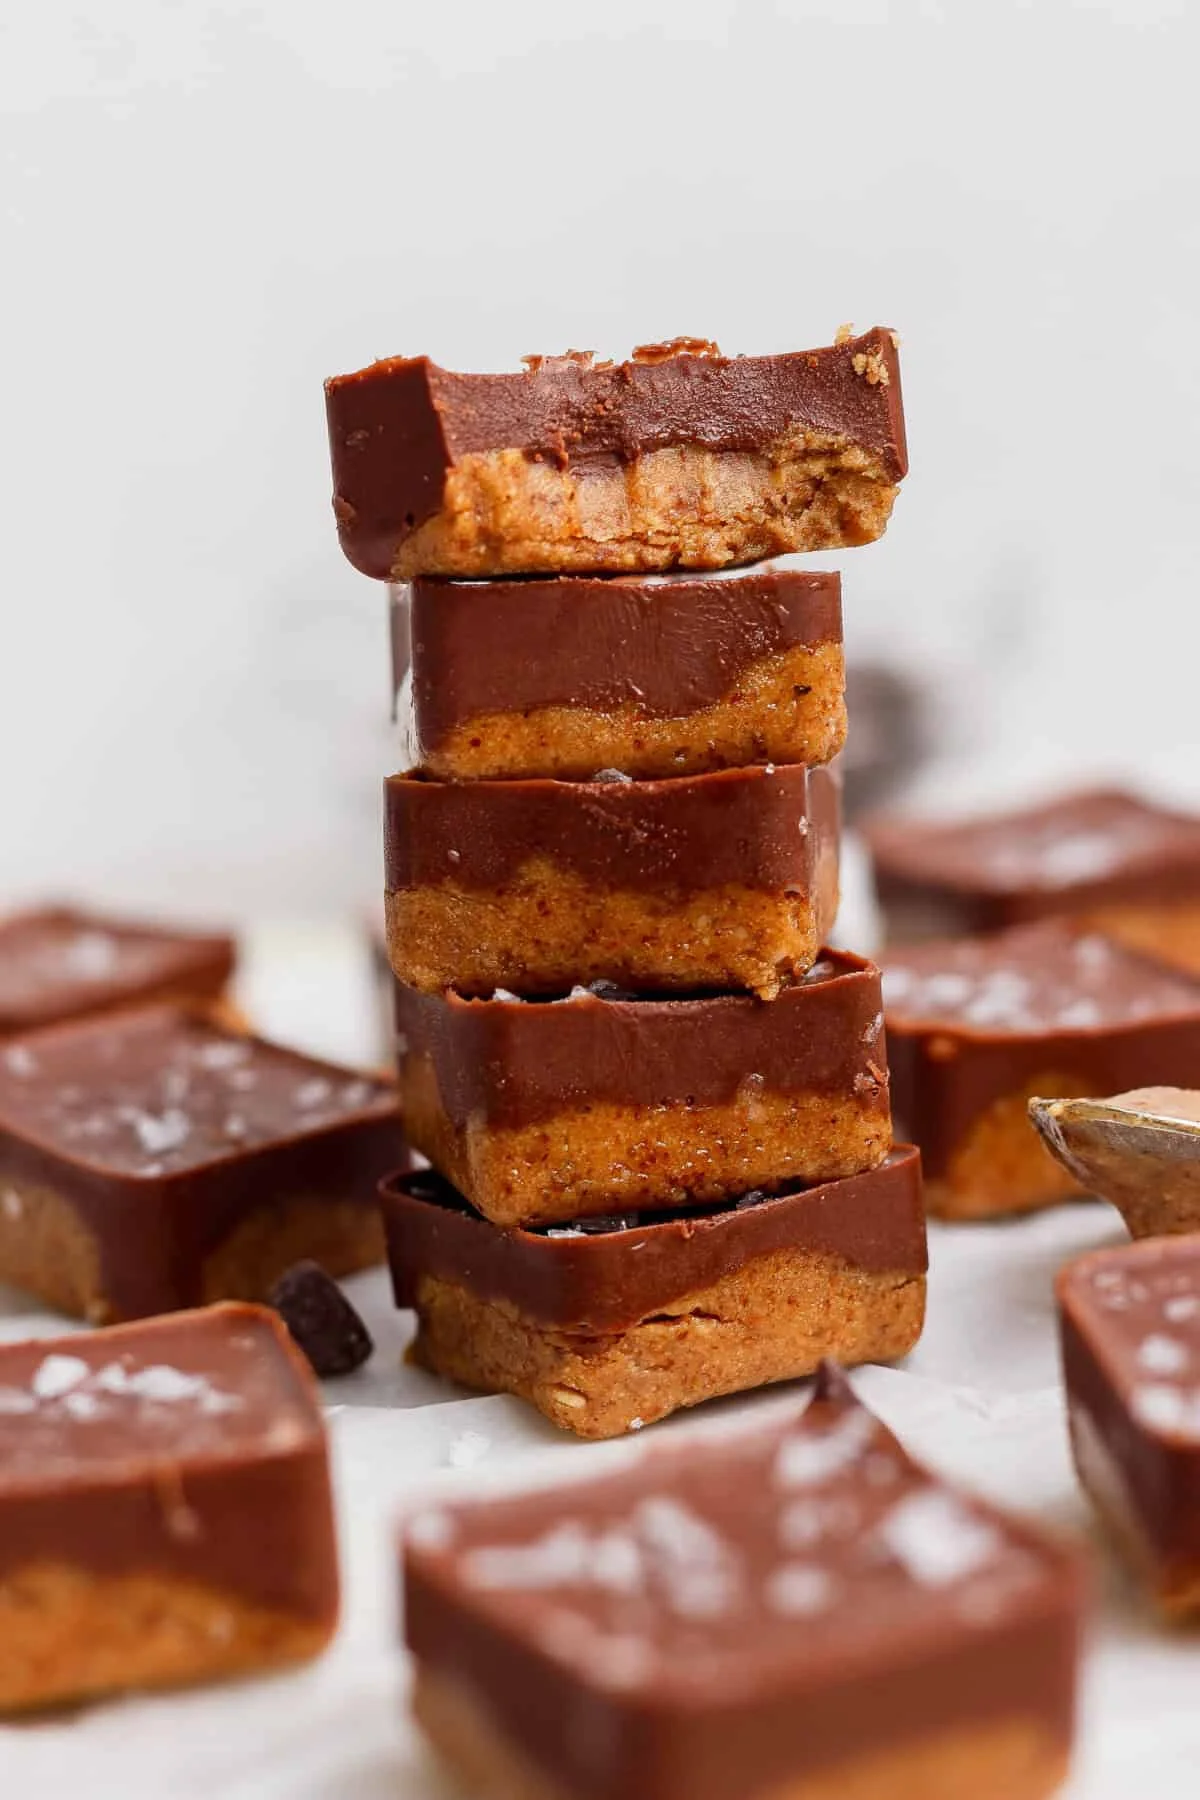
Real time: about 1 hour 20 minutes total, most of it freezer-set. Hands-on: 20 minutes. Equipment: a silicone ice cube tray (a 5×3 cube tray works best), a microwave-safe bowl, and a mixing bowl. You’ll end up with 15 bites per batch.
Why This Method Wins
Almost every protein ball recipe out there asks you to roll a sticky dough by hand, and almost all of them end with sticky fingers and lopsided balls that crumble in the bag. Pressing the mixture into a silicone tray solves both problems at once. Even portions, no rolling, nothing to clean but a tray and a spoon.
Both flavors use the same technique and the same freezer time, so you can make the whole two-flavor spread in one session. The nut-butter base needs no blending and no food processor — just stir and press. And because everything sets in the freezer, it’s a genuine make-ahead snack that holds its shape all week.
The One Trick That Matters
Stir your nut butter completely before you start. The natural oil content is what makes the base moldable without any other binder, but only if the oil and solids are fully recombined. Straight from the jar, most natural nut butters have separated, and dough made with separated butter won’t set right. That’s the number one mistake I see with any nut-butter-based recipe, and it’s the one that wasted my first two batches.
Thin Mint Protein Bites
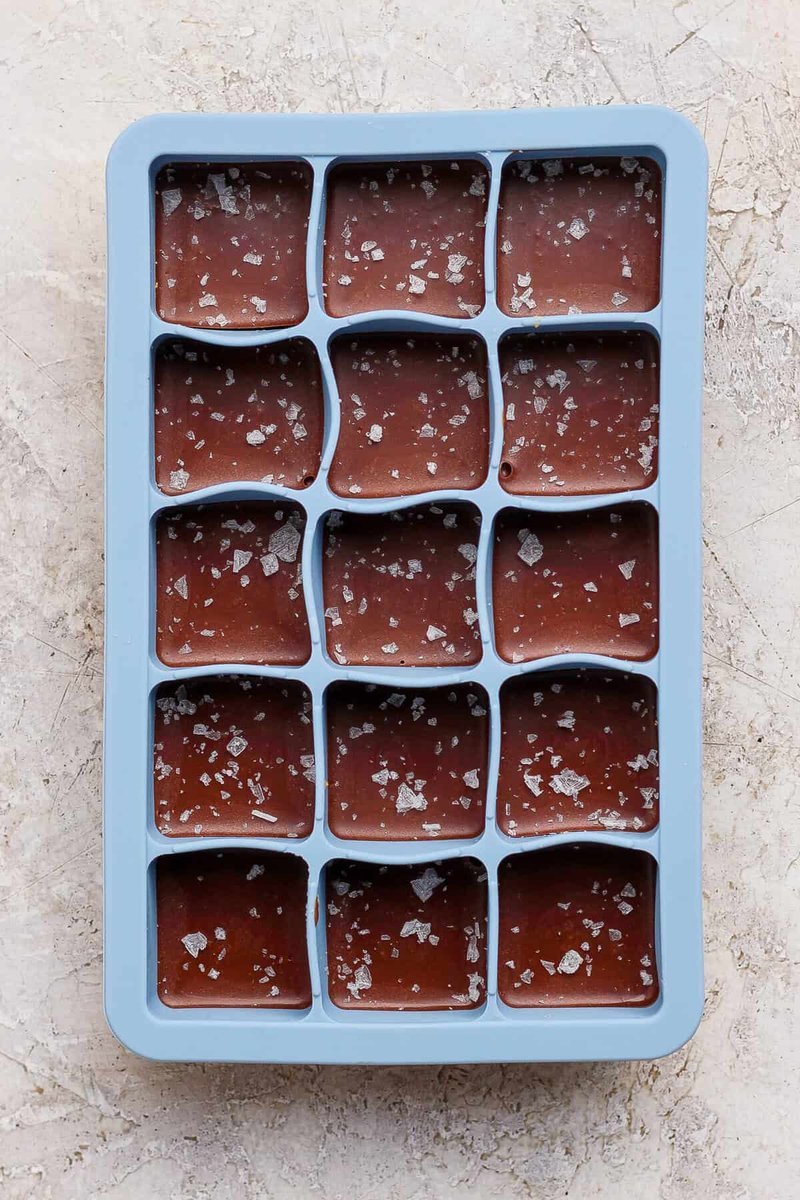
This one starts with a fudgy base of drippy almond butter, vanilla whey, maple syrup, and a small dose of peppermint extract, then gets a poured topping of coconut oil, chocolate chips, and chocolate whey, finished with flaky sea salt. That two-layer structure — fudgy base, chocolate shell — is what makes it taste closer to a candy bar than a protein snack.
One warning on the peppermint: a little goes a long way. If you over-add it, the whole thing tastes like toothpaste. Stick to the amounts in the recipe card — ¼ teaspoon in the base and ⅛ teaspoon in the topping — and you’ll land on real Thin Mint flavor instead of a mint overdose.
S’mores Protein Bites
The campfire flavor skips the poured topping and folds everything into the base instead: creamy cashew butter, vanilla whey, and maple syrup, mixed with mini marshmallows, chopped dark chocolate, and broken graham crackers. A mixing bowl and a freezer stand in for the fire pit.
Two things to know before you start. Mini marshmallows firm up and get chewy once frozen solid, so if you want them soft, let the bites sit at room temperature for a few minutes first, or keep the batch in the fridge instead of the freezer once set. And cashew butter separates in the jar even more than almond butter — oil floats to the top — so give it a full stir before measuring.
Ingredients
Equipment: silicone ice cube tray (5×3 works best), microwave-safe bowl, mixing bowl
Thin Mint base:
- 1 cup drippy almond butter — it must be drippy and pourable, fully stirred
- 1/4 cup vanilla whey protein powder
- 1/4 cup maple syrup
- 1/4 teaspoon peppermint extract
Thin Mint chocolate topping:
- 1/4 cup coconut oil
- 1/2 cup chocolate chips
- 2 tablespoons chocolate whey protein powder
- 1/8 teaspoon peppermint extract
- flaky sea salt, for finishing
S’mores base:
- 1 cup all-natural creamy cashew butter, fully stirred to recombine the oil
- 1/4 cup vanilla whey protein powder
- 2 tablespoons maple syrup
S’mores mix-ins:
- 1/4 cup mini marshmallows
- 4 rectangles special dark Hershey’s chocolate, chopped
- 2 sheets graham crackers, broken into small pieces
Notes: vanilla or chocolate whey both work — plant-based powder absorbs more liquid, so add a splash of milk if the dough goes dry. Maple syrup can be swapped for honey in either flavor without changing the texture. A gluten-free graham cracker keeps the S’mores version gluten-free.
How to Make the Thin Mint Bites
- In a large mixing bowl, combine the almond butter, vanilla protein powder, maple syrup, and peppermint extract. Stir until smooth.
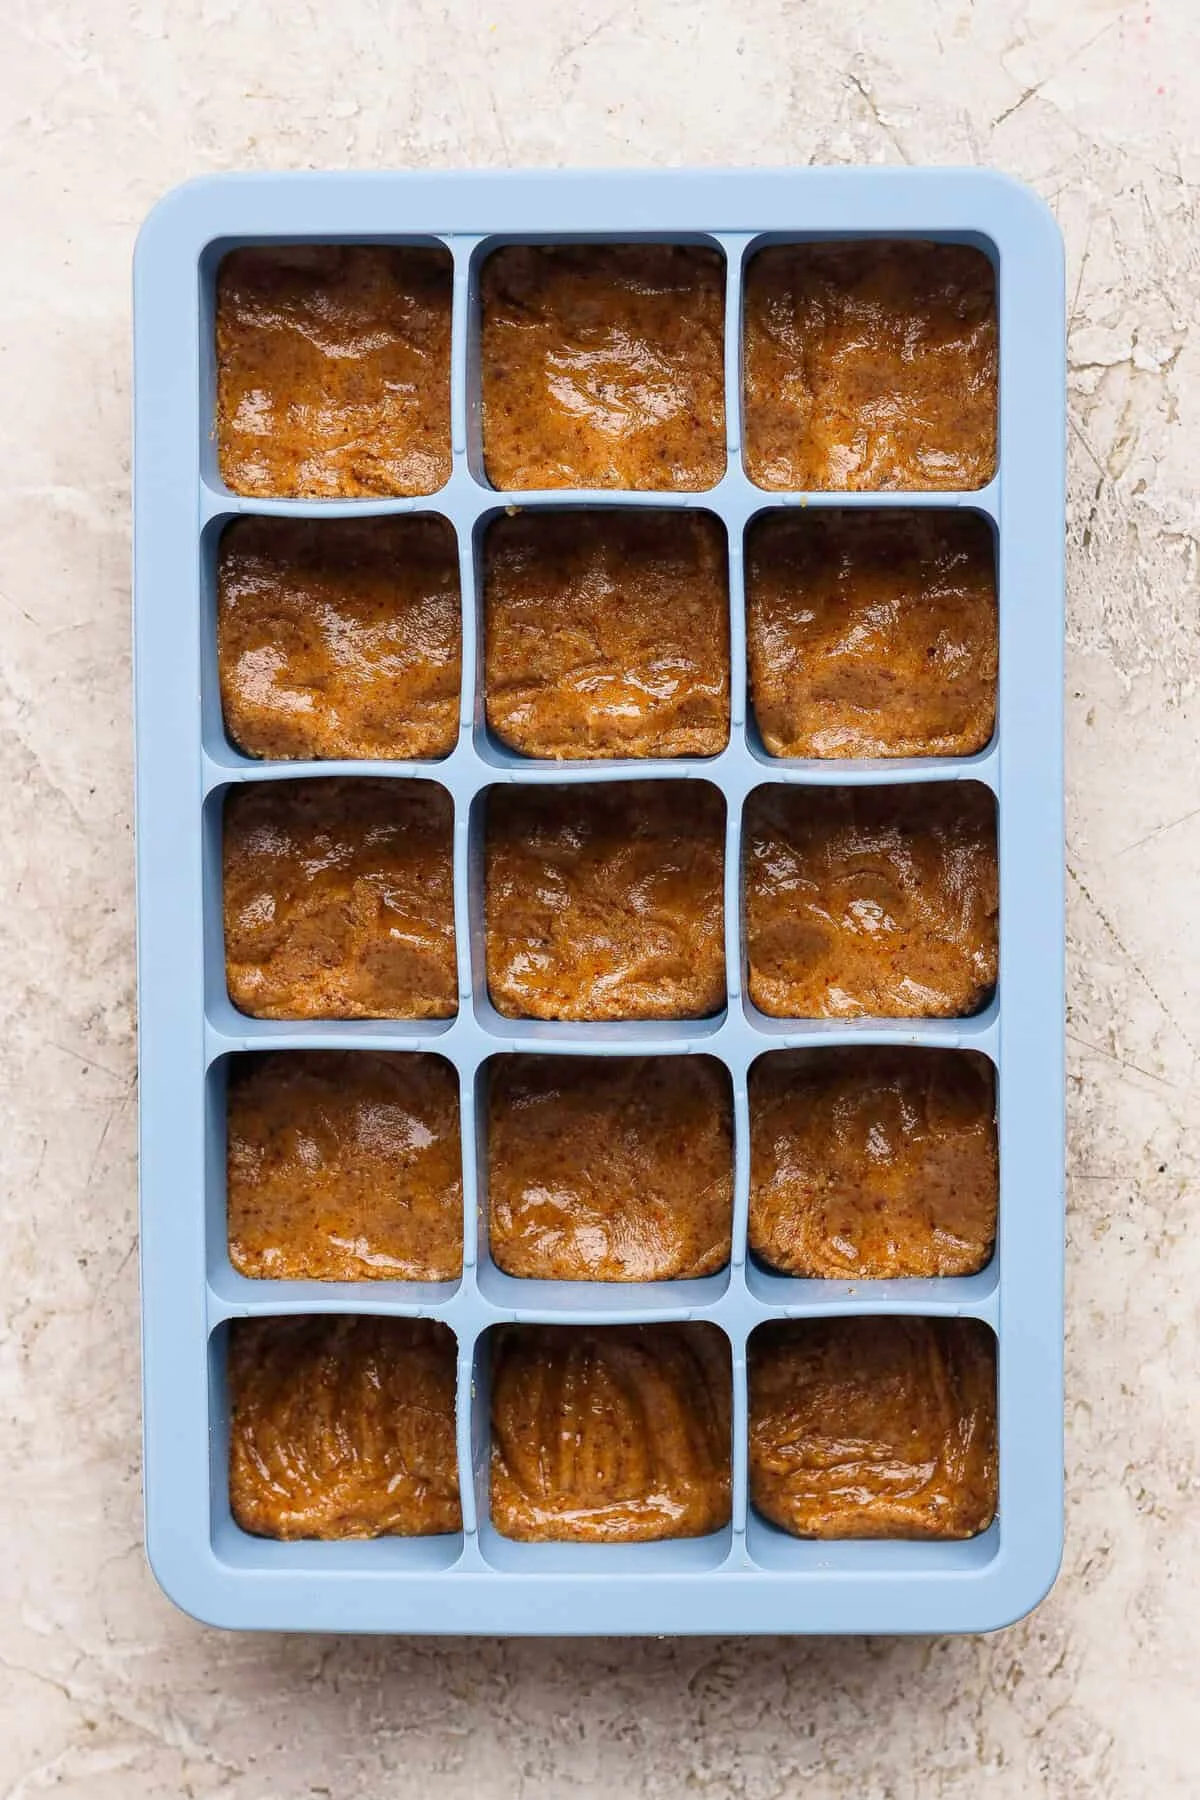
- Scoop about 1/2 tablespoon of the mixture into each cube of the silicone tray and press it firmly in with the back of a spoon or your fingers.
- Combine the coconut oil and chocolate chips in a microwave-safe bowl. Microwave in 20-second increments, stirring between each, until completely melted and smooth.
- Stir the chocolate protein powder and peppermint extract into the melted chocolate until smooth.
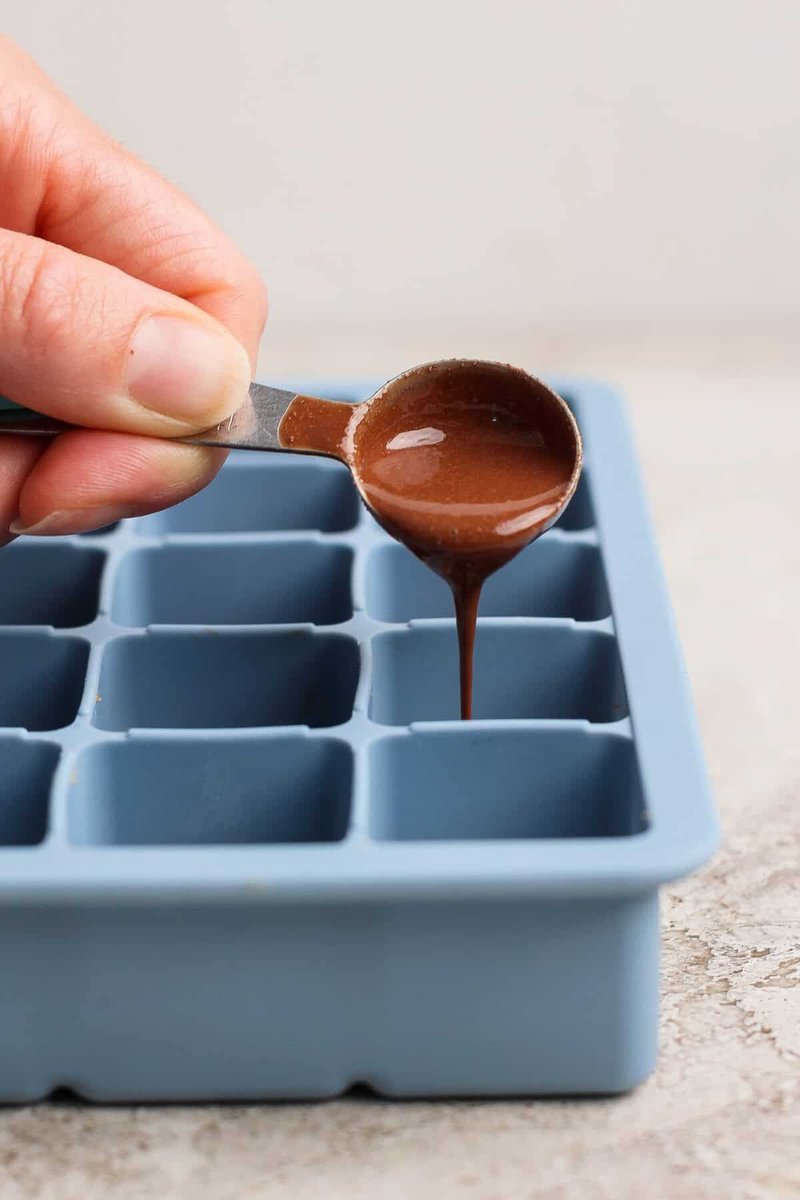
- Spoon 1–2 teaspoons of the chocolate over each cube, spreading it to cover the top.
- Freeze for at least 30 minutes until firm. Top with flaky sea salt, then pop each bite out of the tray.
How to Make the S’mores Bites
- Combine the cashew butter, vanilla protein powder, and maple syrup in a large bowl and stir until smooth. If the cashew butter has separated, fully recombine the oil and solids first.
- Fold in the mini marshmallows, chopped dark chocolate, and broken graham crackers until evenly distributed.
- Scoop about 1–2 tablespoons of the mixture into each cube of the tray and press firmly up to the rim.
- Optional: top each bite with a few extra mini marshmallows, chocolate pieces, and graham cracker crumbs.
- Freeze for at least 1 hour until firm. Pop the bites out and store them in a freezer-safe bag.
When the Dough Won’t Hold Together
Too dry or crumbly: the nut butter almost certainly wasn’t fully recombined. Stir in an extra teaspoon of nut butter or maple syrup until it presses together.
Too oily or loose: usually a very high-oil nut butter. Add protein powder one teaspoon at a time until it firms up.
The pressed format is actually more forgiving than rolled balls — the tray holds the shape while it sets, even with a slightly looser dough. Every jar behaves a little differently, so my fix is always the same: stir completely smooth first, then adjust with a touch more nut butter or protein powder rather than fighting the dough as it is.
Storage
Thin Mint: freezer, in an airtight container or freezer-safe bag, for up to 1–2 months. The chocolate topping seals the top layer, and these are best eaten straight from the freezer.
S’mores: freezer for up to 1 month. For the softest marshmallow texture, keep them in the fridge instead — up to 1 week — because frozen marshmallows firm up and turn chewy.
FAQs
Can I make these without a silicone ice cube tray? Yes. Line a small square or loaf pan with parchment, press the dough in evenly, and cut into squares once set. You can also roll the dough into balls by hand, though you’ll lose the clean, uniform shape the tray gives you. The tray is genuinely the fastest, least messy way I’ve found to portion these.
How are these different from regular protein balls? It’s the technique, not the ingredients. Most protein ball recipes have you roll a sticky dough by hand; these get pressed into the tray and pop out as clean squares. Less mess, and every portion comes out the same size.
Can I use a different nut butter? Any well-stirred, drippy nut butter works in either flavor — peanut butter, sunflower seed butter, or a different almond or cashew butter are all fine. Just make sure it’s fully stirred and not separated straight from the jar, or the dough won’t hold together as well.
Why is my dough too dry or crumbly? Almost always the nut butter wasn’t fully stirred. The oil and solids need to be completely recombined. Stir in an extra teaspoon of nut butter or maple syrup until it presses together easily.
Can I use a different protein powder? Yes — vanilla or chocolate whey both work as written. Plant-based powders absorb more liquid, so you may need an extra splash of milk or maple syrup to get the same consistency.
How long do these keep? Both flavors keep 1–2 months in the freezer in an airtight container. If you want the S’mores marshmallows soft rather than firm, keep that batch in the fridge instead, where it’ll last about a week.
Nutrition (Thin Mint flavor, per bite): 191 calories, 11 g carbohydrates, 6 g protein, 15 g fat, 2 g fiber, 8 g sugar. Automatically calculated, so treat it as an approximation — the S’mores flavor will vary.
Make It Yours
Swap the peppermint extract for coffee extract in the base for a mocha-mint twist, or fold the S’mores base with a handful of crushed cookies for extra crunch. And if your freezer is full, make one flavor, eat one flavor, and treat the other as next week’s problem.
Happy cooking, Maya.